
Cast Iron
- Blue Steel Convert
I bought a set of three carbon steel pans, and they are amazing. Is this allowed here? They are 99% iron I think.
They are lighter than a full iron pan but you still season them in the same way.
I have had an iron pan dedicated to meat cooking for a few years now, but I'm not sure it will get much use now.
These are new pans, so I'll have to see how they last, but I'm very optimistic.
- How do I test cast iron cookware for lead
cross-posted from: https://lemmy.today/post/9250689
> How do I test cast iron cookware for lead > > So I found a griddle that was in pretty bad shape seasoning wise so I stripped it and noticed a small shiny area which worried me about lead. I ordered some lead tests that stated they were for metal (no specifics) and after doing the tests it came back positive. But this got me wondering if iron reacts with sodium rhodizonate, the main ingredient in these lead tests, to give false positives and load and behold it does. I confirmed this with another cast iron cookware that I know 100% never touched lead. So my question is how the hell do I test this? Everyone keeps recommending the same sodium rhodizonate lead test swabs just with different brand names. > > Tldr: After stripping a griddle and finding a shiny spot, I tested it for lead and it came back positive, leading to concerns about the reaction between iron and sodium rhodizonate. The question is how to accurately test for lead contamination in the griddle without potential false positives from the test method recommended by others? > > Edit: wanted to add some more info. I did experiment with the test themselves to see how reliable they were and they passed it so I don't suspect its the test themselves but the chemical reaction between iron and the sodium rhodizonate > > >
- Do I need to start over or can this be salvaged?
Also this might be off topic for this community as this is a carbon steel pan (Merten & Storck).
- Seafood feast!
I hope this is ok to post: cast iron adjacent and has not better home on Lemmy ….
Seafood feast I made for the kids last night. That fried rice started as 2c dry rice and would have been tough to make without the space of this griddle top! Or maybe it’s just me, I can’t seem to make it without spreading out and making a mess
It’s all an experiment
- only the second time cooking tuna steak
- only a few times trying to sear shrimp
- fried rice - ok, hot sesame oil was new, gave it a nice kick without being hot
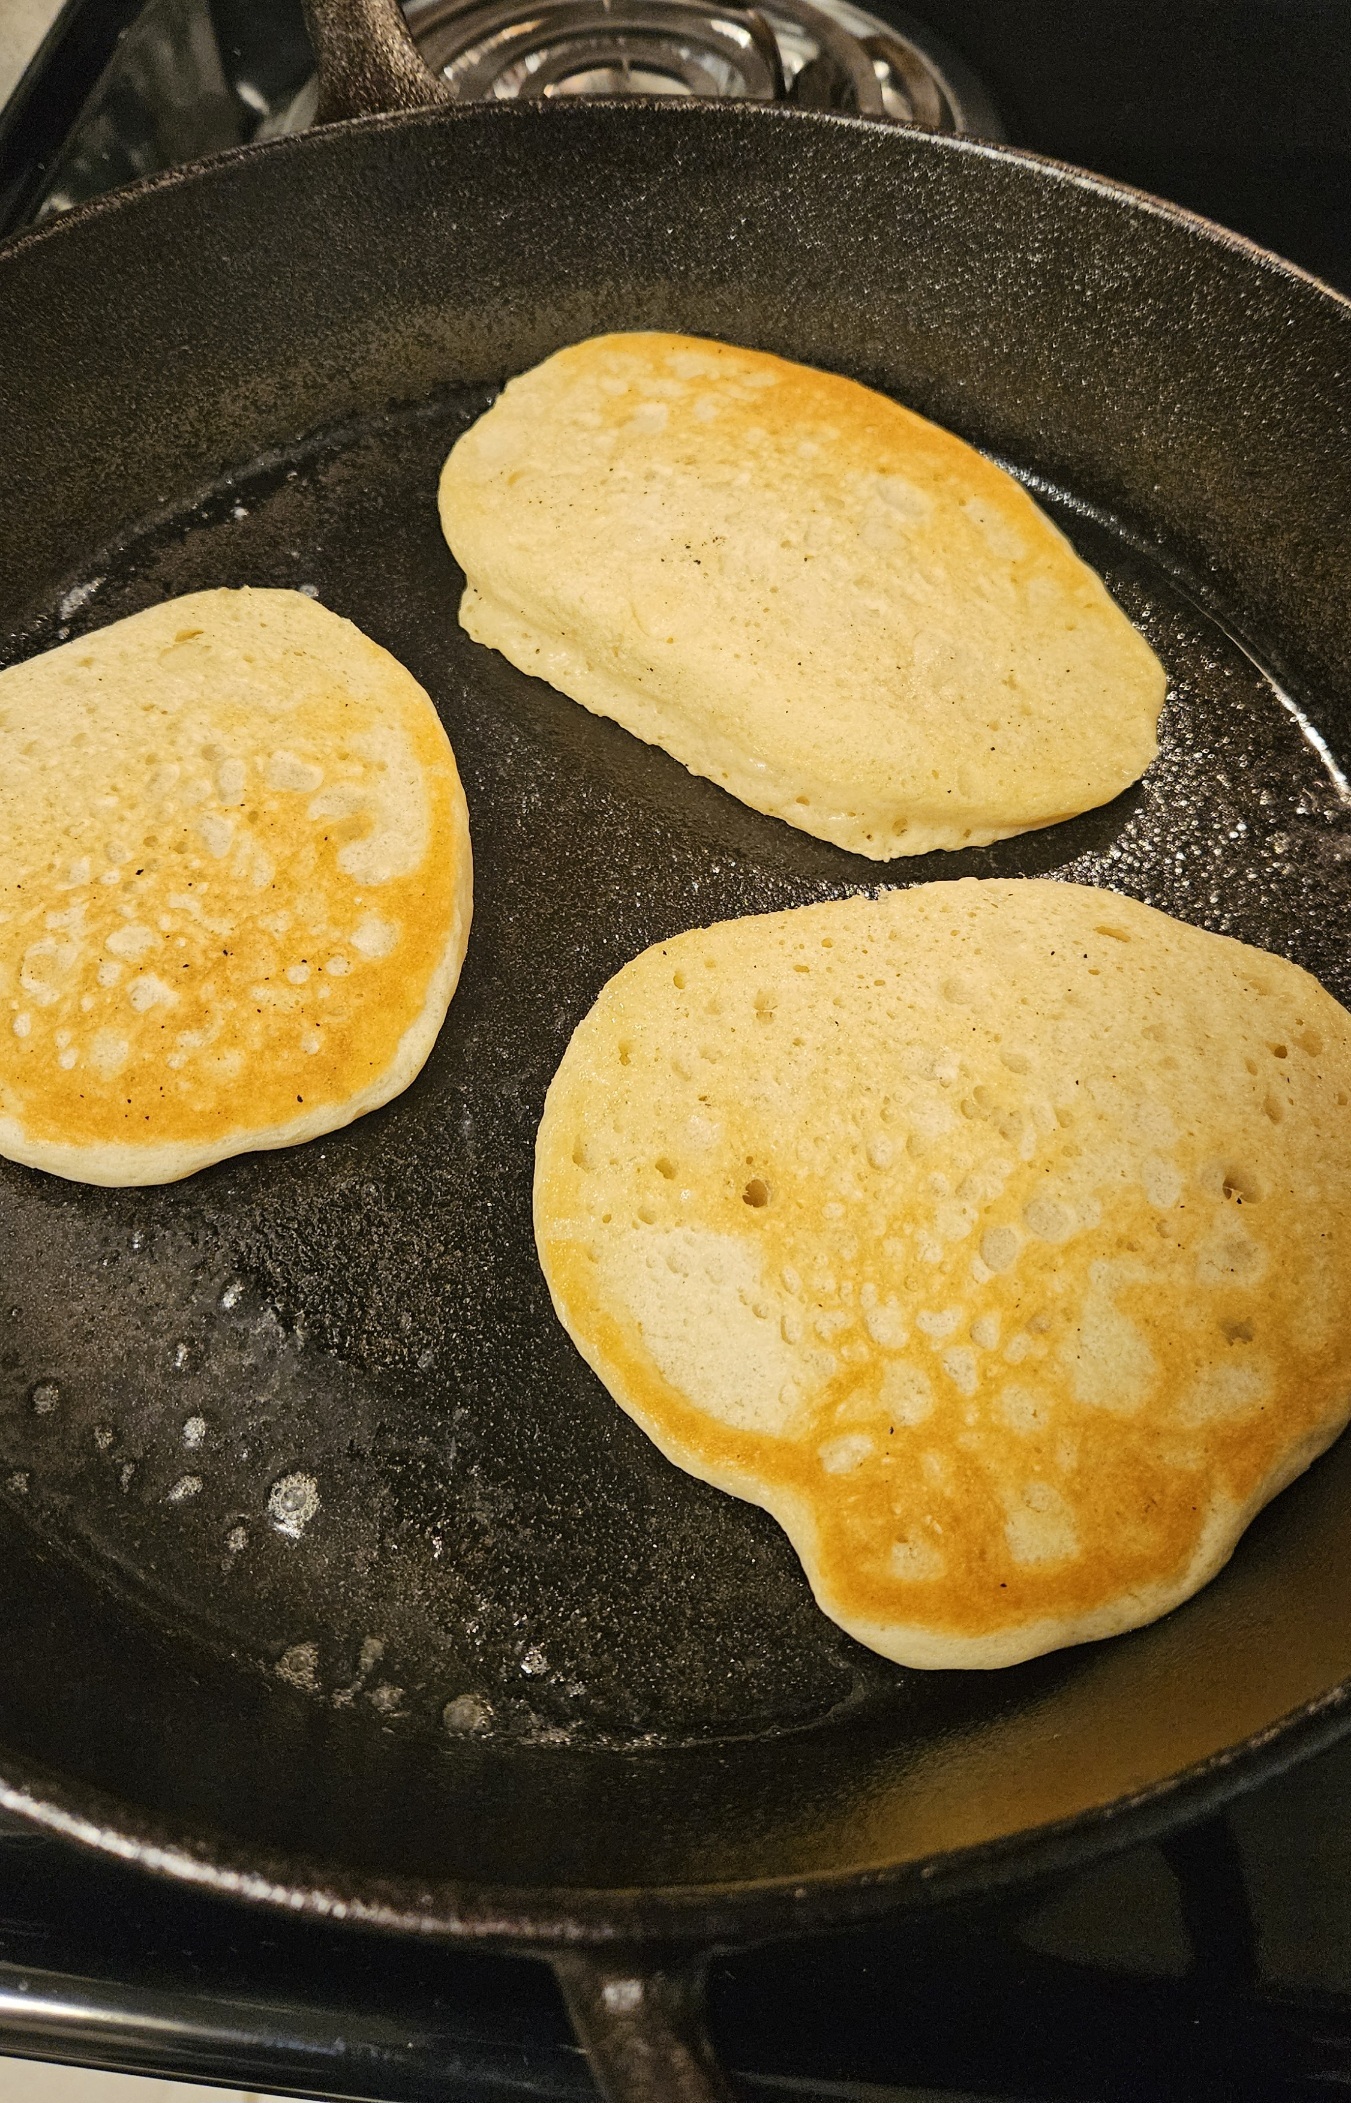
Probably use it for a massive number of pancakes tomorrow
So this is also a cry for help: what can I replace this with?
- I’m getting an induction glass top, which doesn’t support griddles of any kind
- I don’t want to go back to Teflon, that all stand-alone electric griddles seem to be
- I don’t know how big to consider: during the week it’s just me and a skillet is sufficient, but kids do come home from college
- I considered getting a Blackstone or similar, but the weather here is not friendly to outdoor cooking half the year
Anyone have ideas what to look for in a stand-alone griddle that’s not Teflon, and is cast iron or cast iron adjacent?
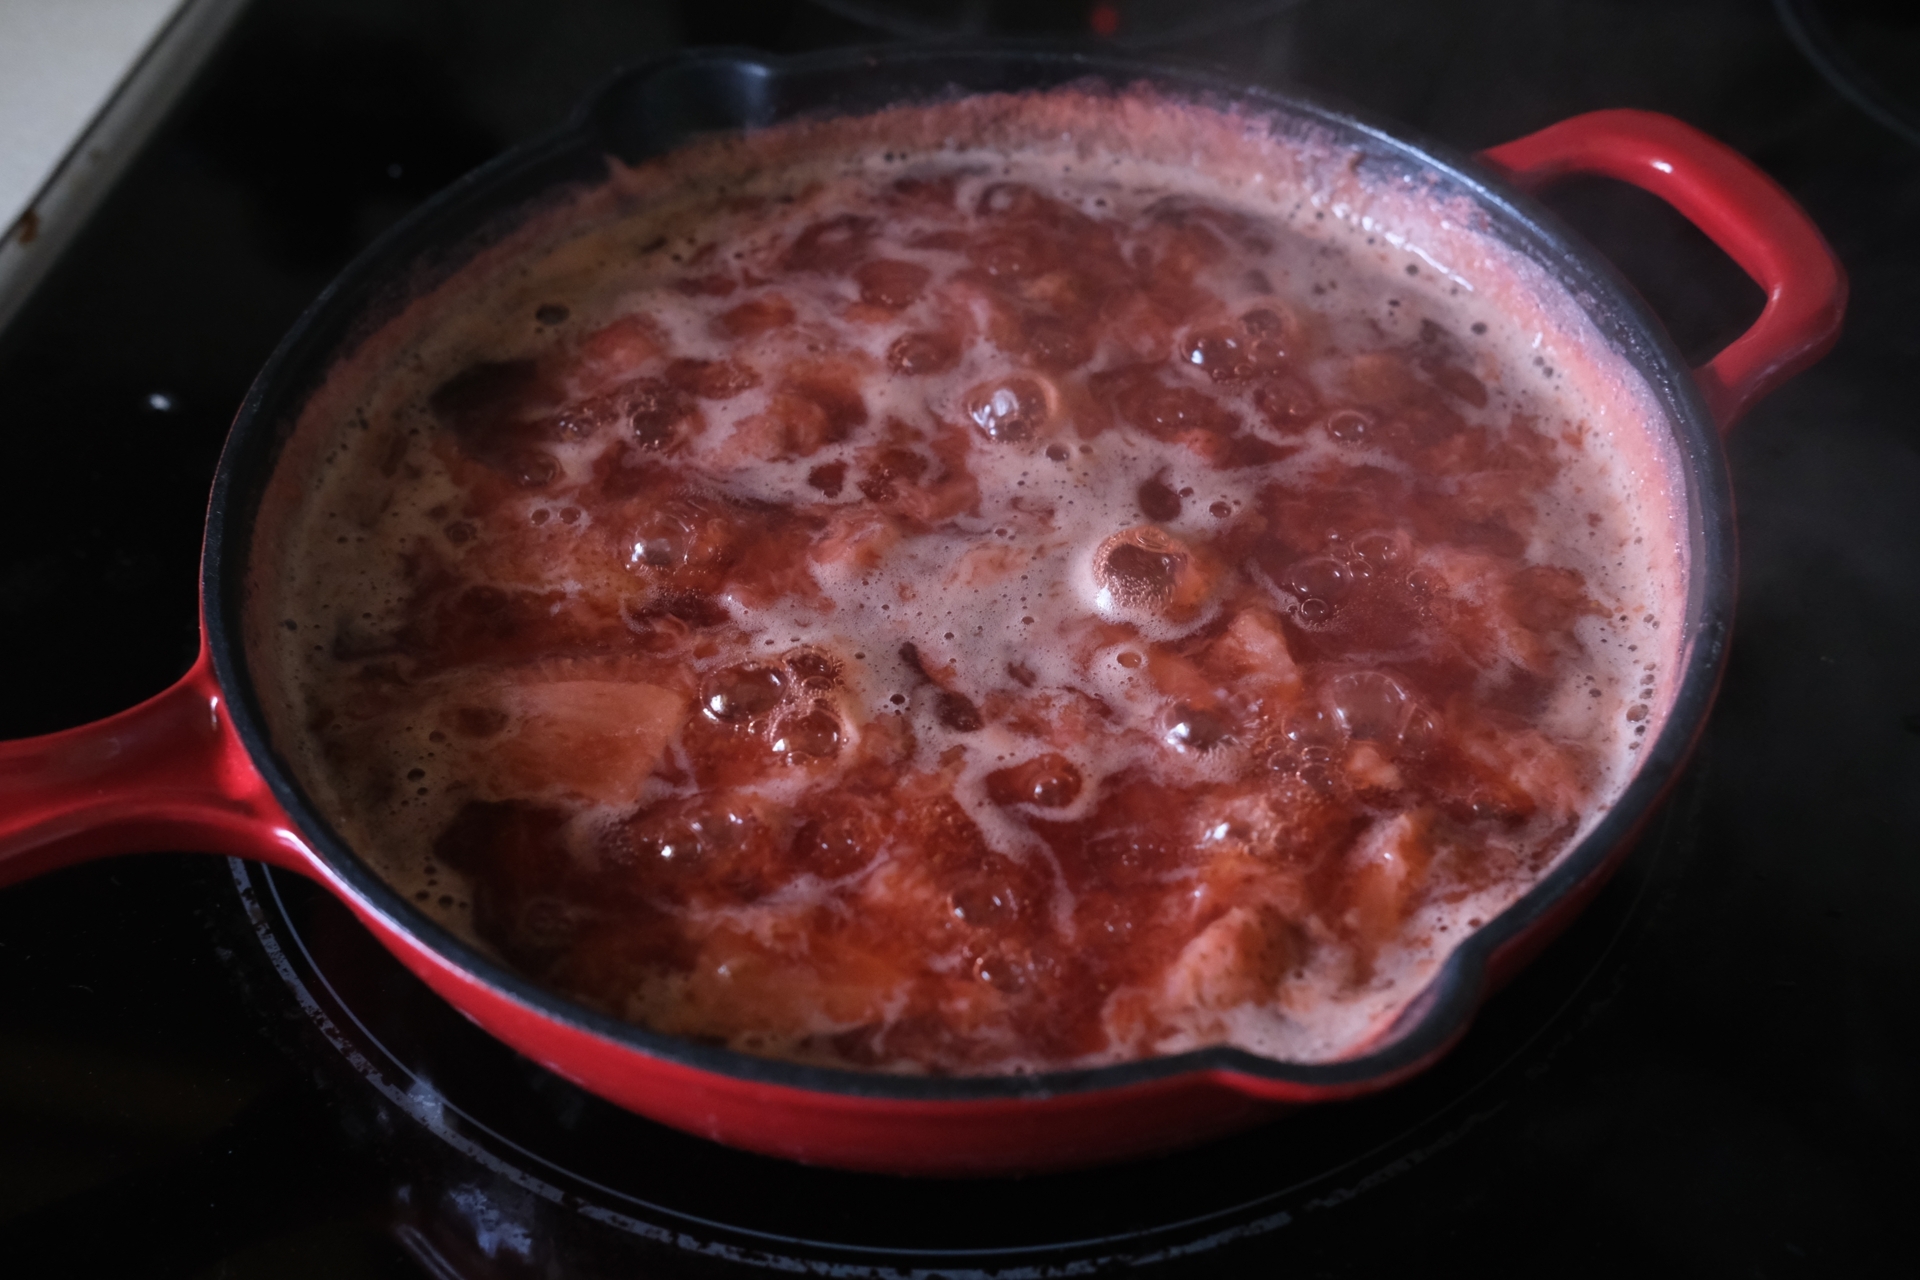
- Strawberry Compote in Enameled Cast Iron
Second time making compote but first time using cast iron to do it.
I opted for enameled over seasoned due the lemon juice added. I knew it would take a while to reduce and didn't want the extra acid to break down seasoning on my other pans.
It worked well and tasted good. Less sweet and more tart than store bought preserves.
Used it on toast, pancakes and made some tarts in the oven.
- Seasoning with butane cans w/ creme brulee torch adapter
Using an oven to season never really worked for me; it used too much electricity and the waste heat made my living space super uncomfortable.
So, I decided to try using butane cans meant for hotpots. They can be bought at most Asian focused grocery stores and I bought the torch adapter from amazon; I don't think it really matters which one you get, seems most of them are from the same manufacturer. Probably also have them at some restaurant focused stores.
My process was the same as if you were using an oven; a thin layer of canola oil (or whatever you use) and then blast it with the butane torch. I found I needed to get real close until the oil "dries" (in the right light you see crystal like shapes, I think that's what it looks like when it polymerizes). After it's 'dried' I apply another layer and repeat. I did this about 10 times I think. Same as always, don't apply too much or you'll get sticky areas that will take more time to polymerize.
It's quite laborious, but it had great results though I think I'll have to do another 10-20 layers to get a really good seasoning. As it is now, eggs still stick a little in some places but it's still a far cry from what it was before.
I also want to get some canola oil spray since that would make reapplying a cinch, but I can't seem to find it any more. Do you have it in your area? I hope it wasn't discontinued. :(
I hope this helps, happy cooking!
- People that reversensear steaks are crazy and I will never understand them.
You are already getting the pan hot enough to sear, just leave it there a little while longer and it's cooked!
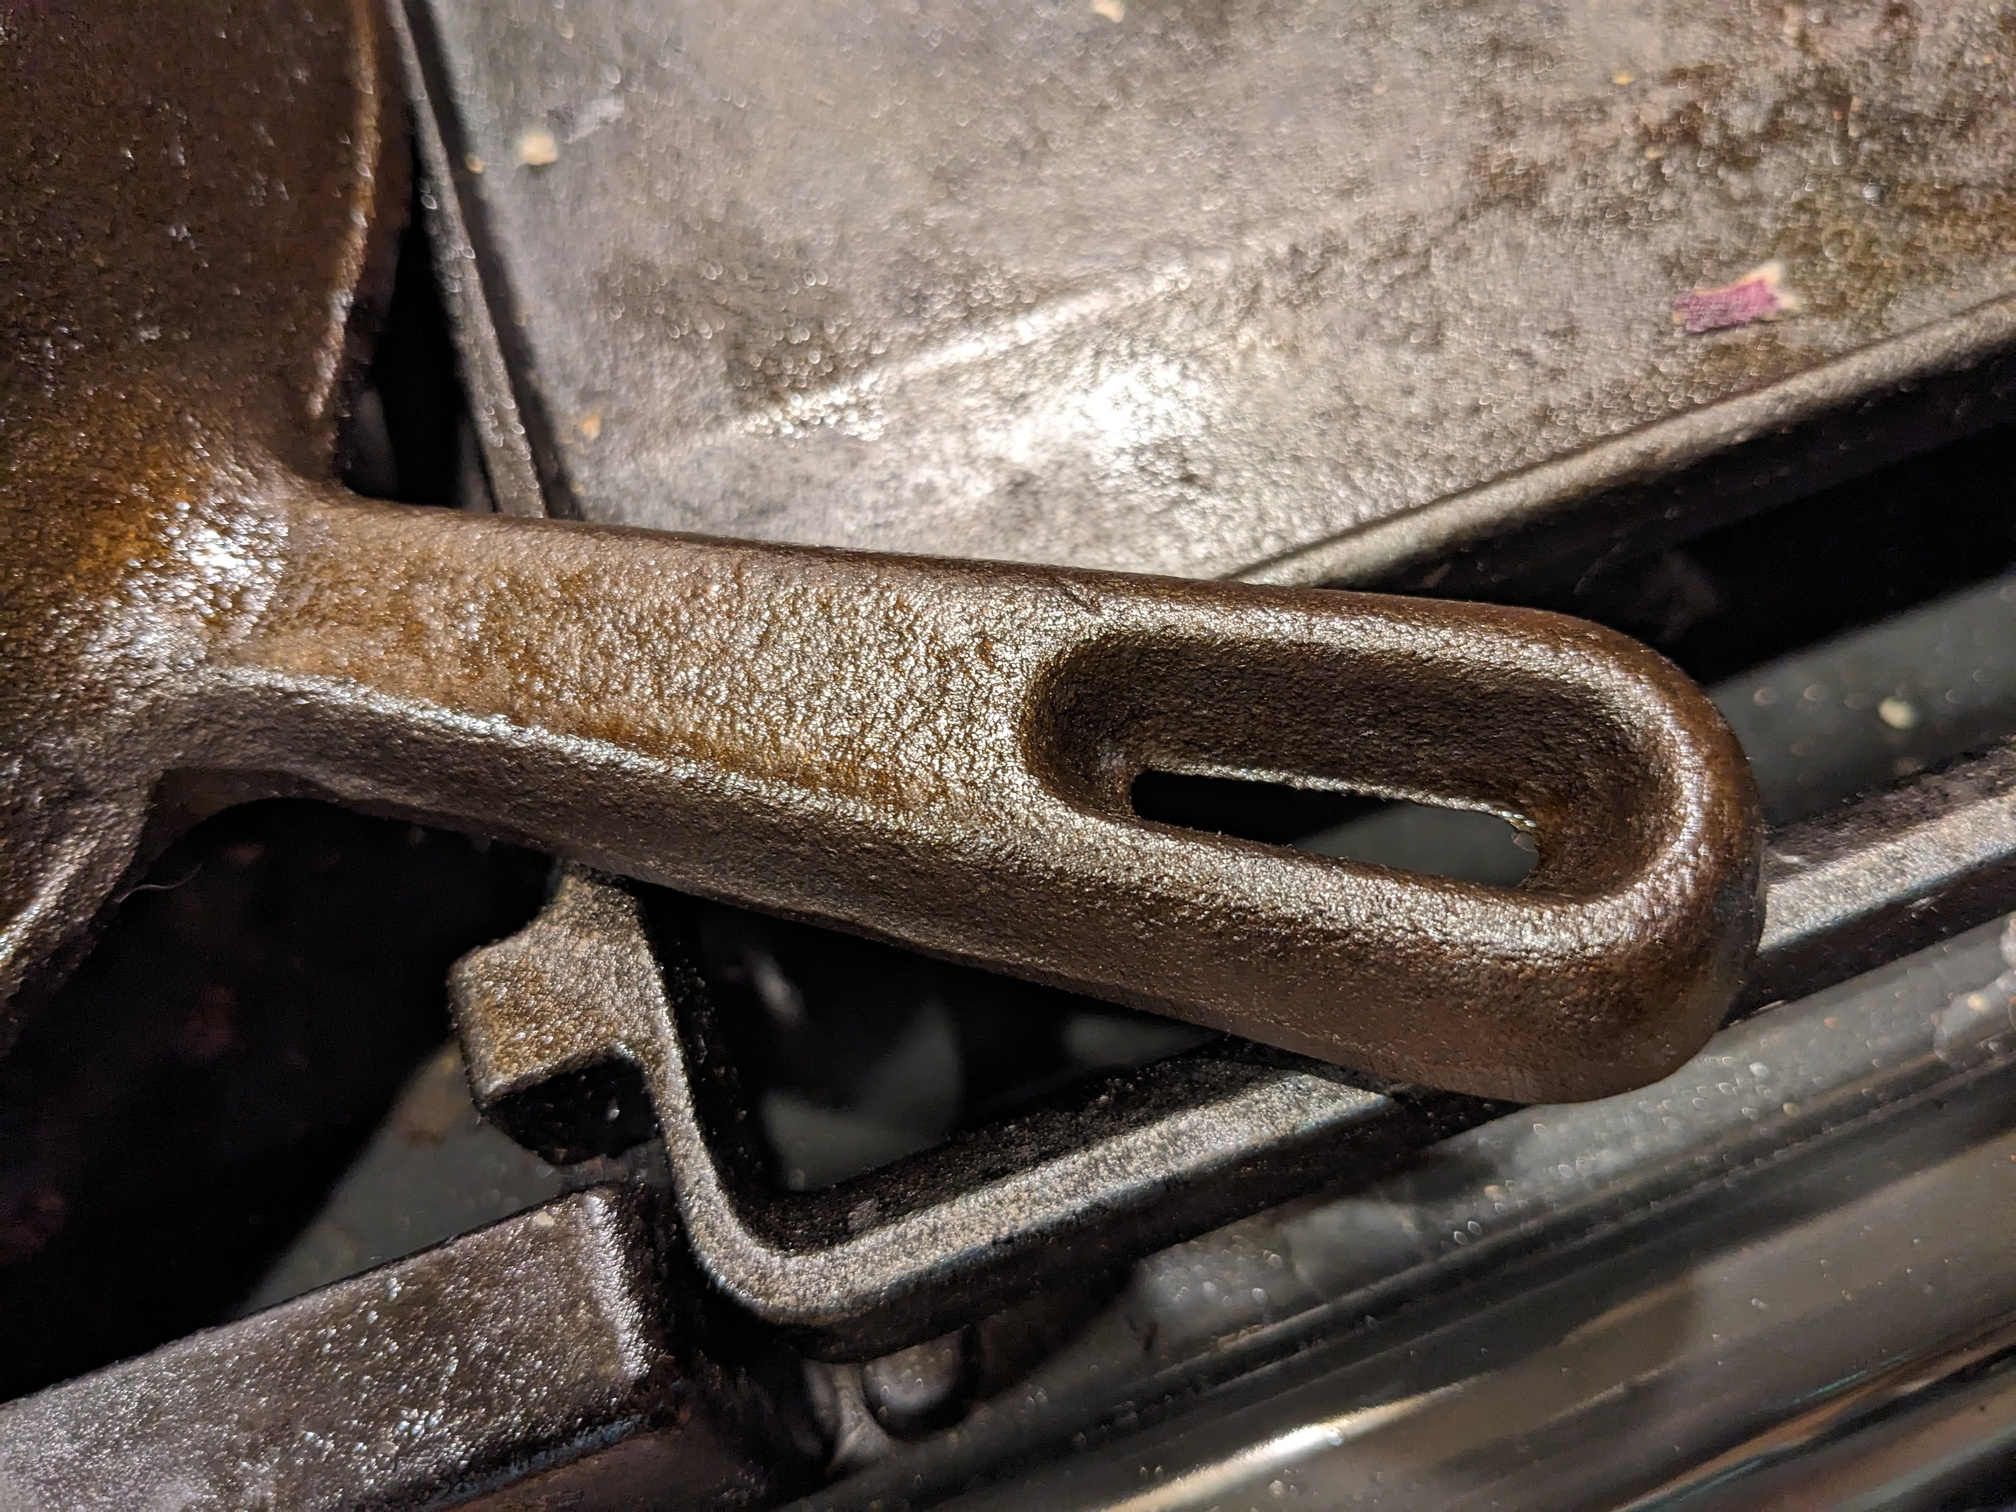
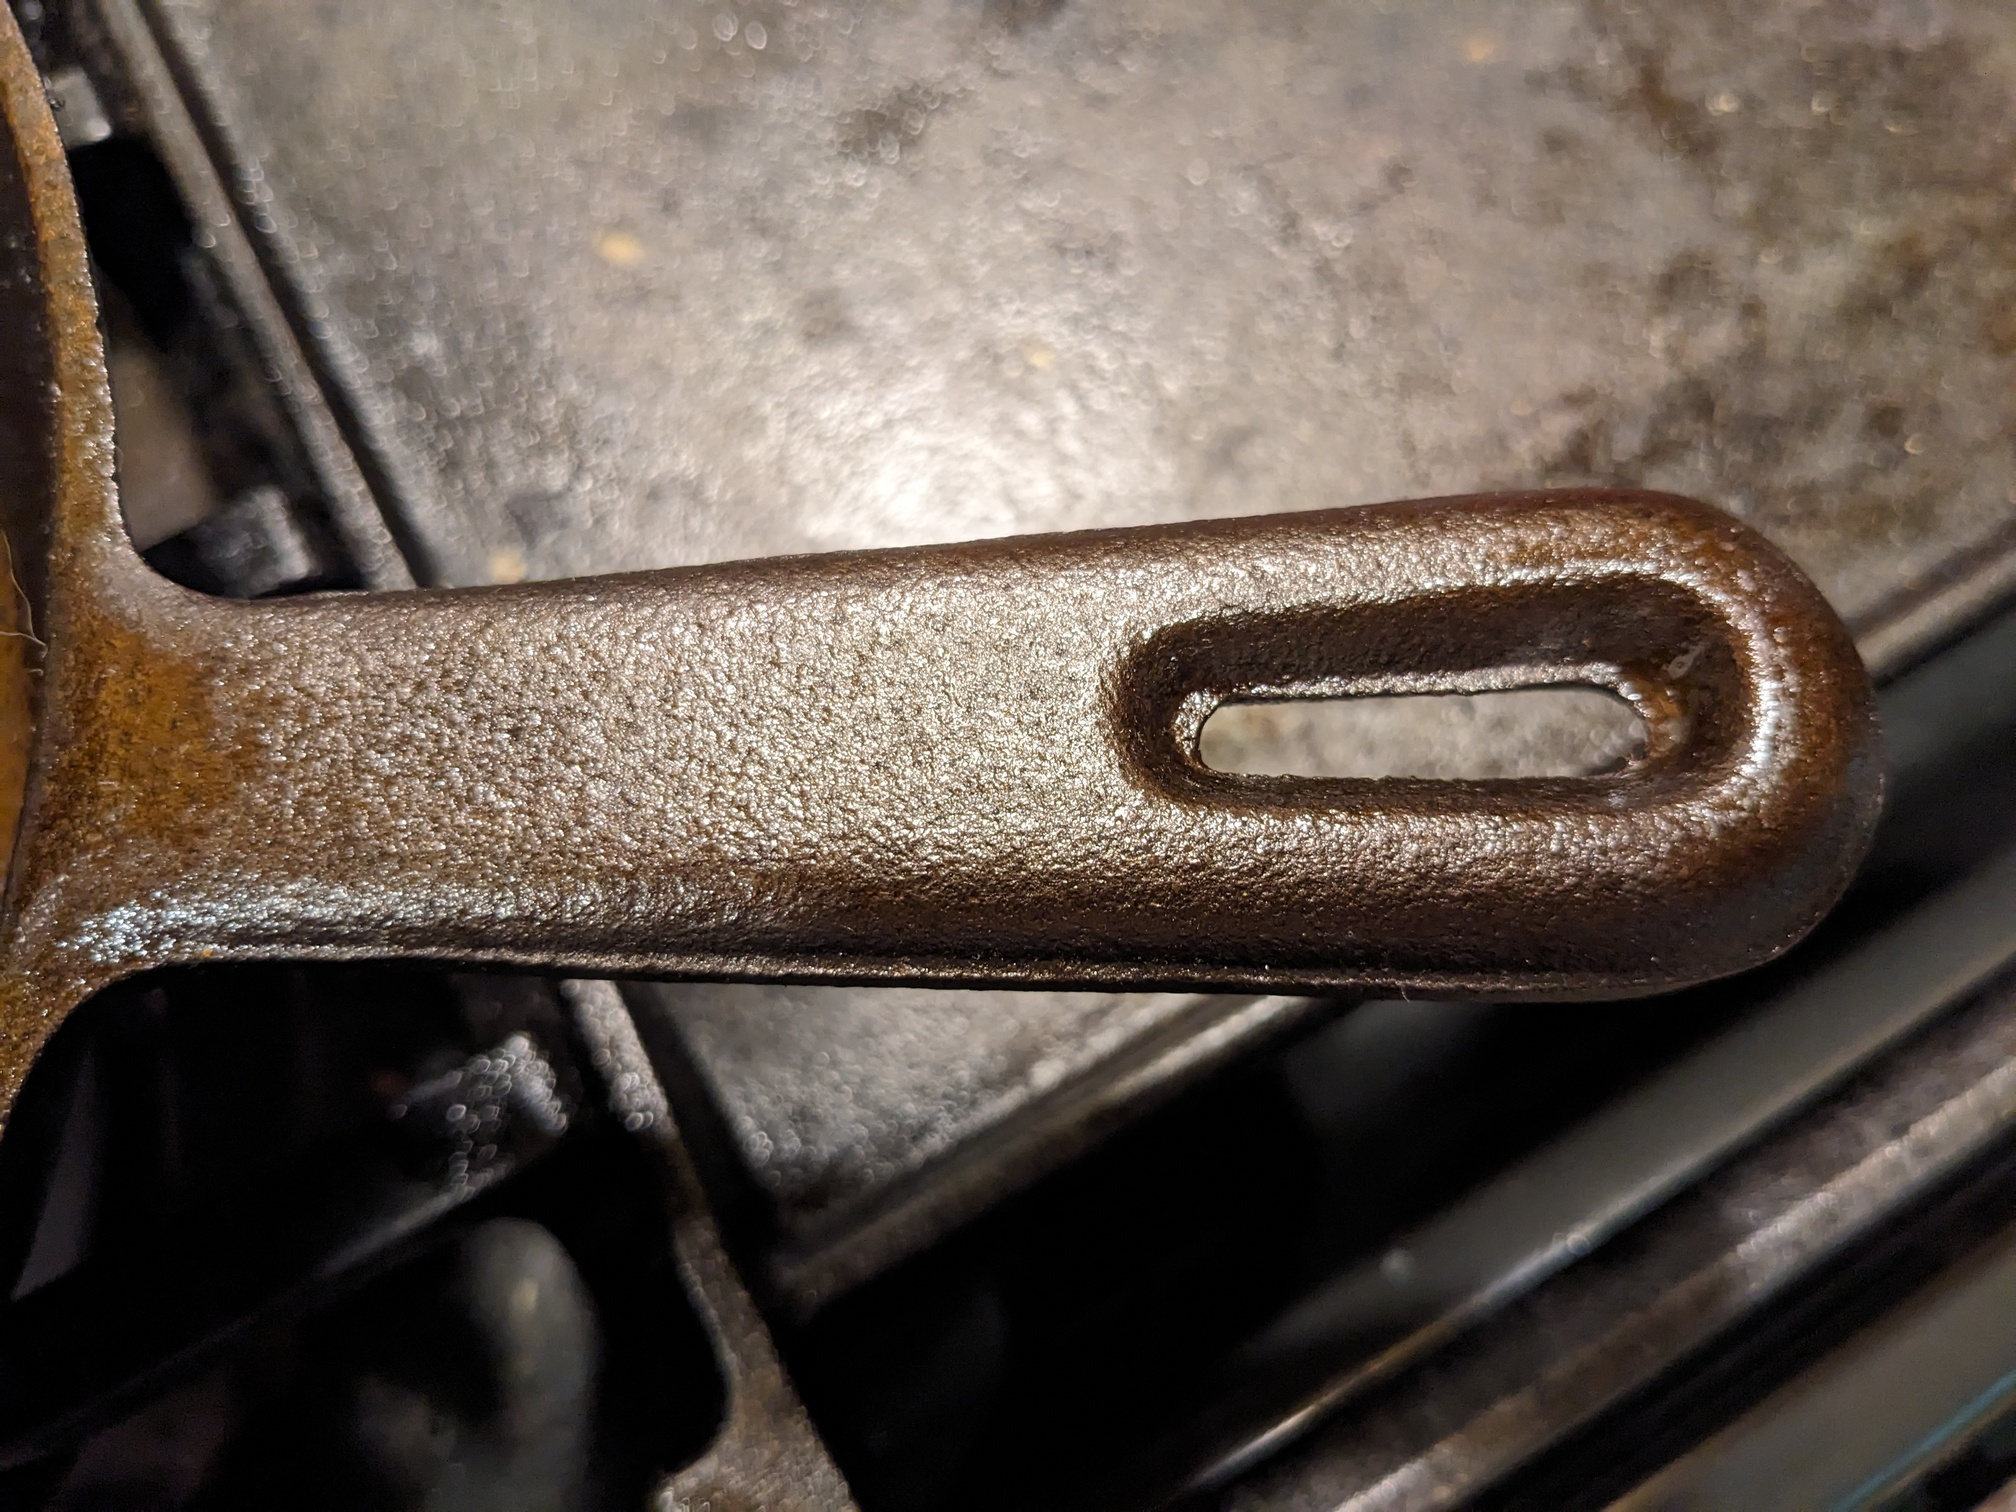
- Anyone have an idea on wgat brand this griddle is?imgur.com Mysterious skillet
Discover the magic of the internet at Imgur, a community powered entertainment destination. Lift your spirits with funny jokes, trending memes, entertaining gifs, inspiring stories, viral videos, and so much more from users like anamericancomposer6.

I found it in a cupboard at my family farm. It's unlabeled, gate marked, has a funky raised "8", and an interesting design on the handle. The finish job on the inside looks great, very smooth.
- Steak night!
Filet mignon in cast iron and ribeye in carbon steel. Dry brined for one day, cooked in avocado oil, basted in ghee and garlic, and finished with a little cracked pepper.
- Check out this super old #14 pizza pan I got from the family farm. I'm going to start refurbishing it today.imgur.com Antique #14 cast iron pizza pan
Discover the magic of the internet at Imgur, a community powered entertainment destination. Lift your spirits with funny jokes, trending memes, entertaining gifs, inspiring stories, viral videos, and so much more from users like anamericancomposer6.
- Anyone know what this skillet is?
Picked it up for a song recently. I suspect it to be a BSR but it's kind of weird. Also, why is it so clean and skinny? It looks like aluminum but it's labeled as CI.
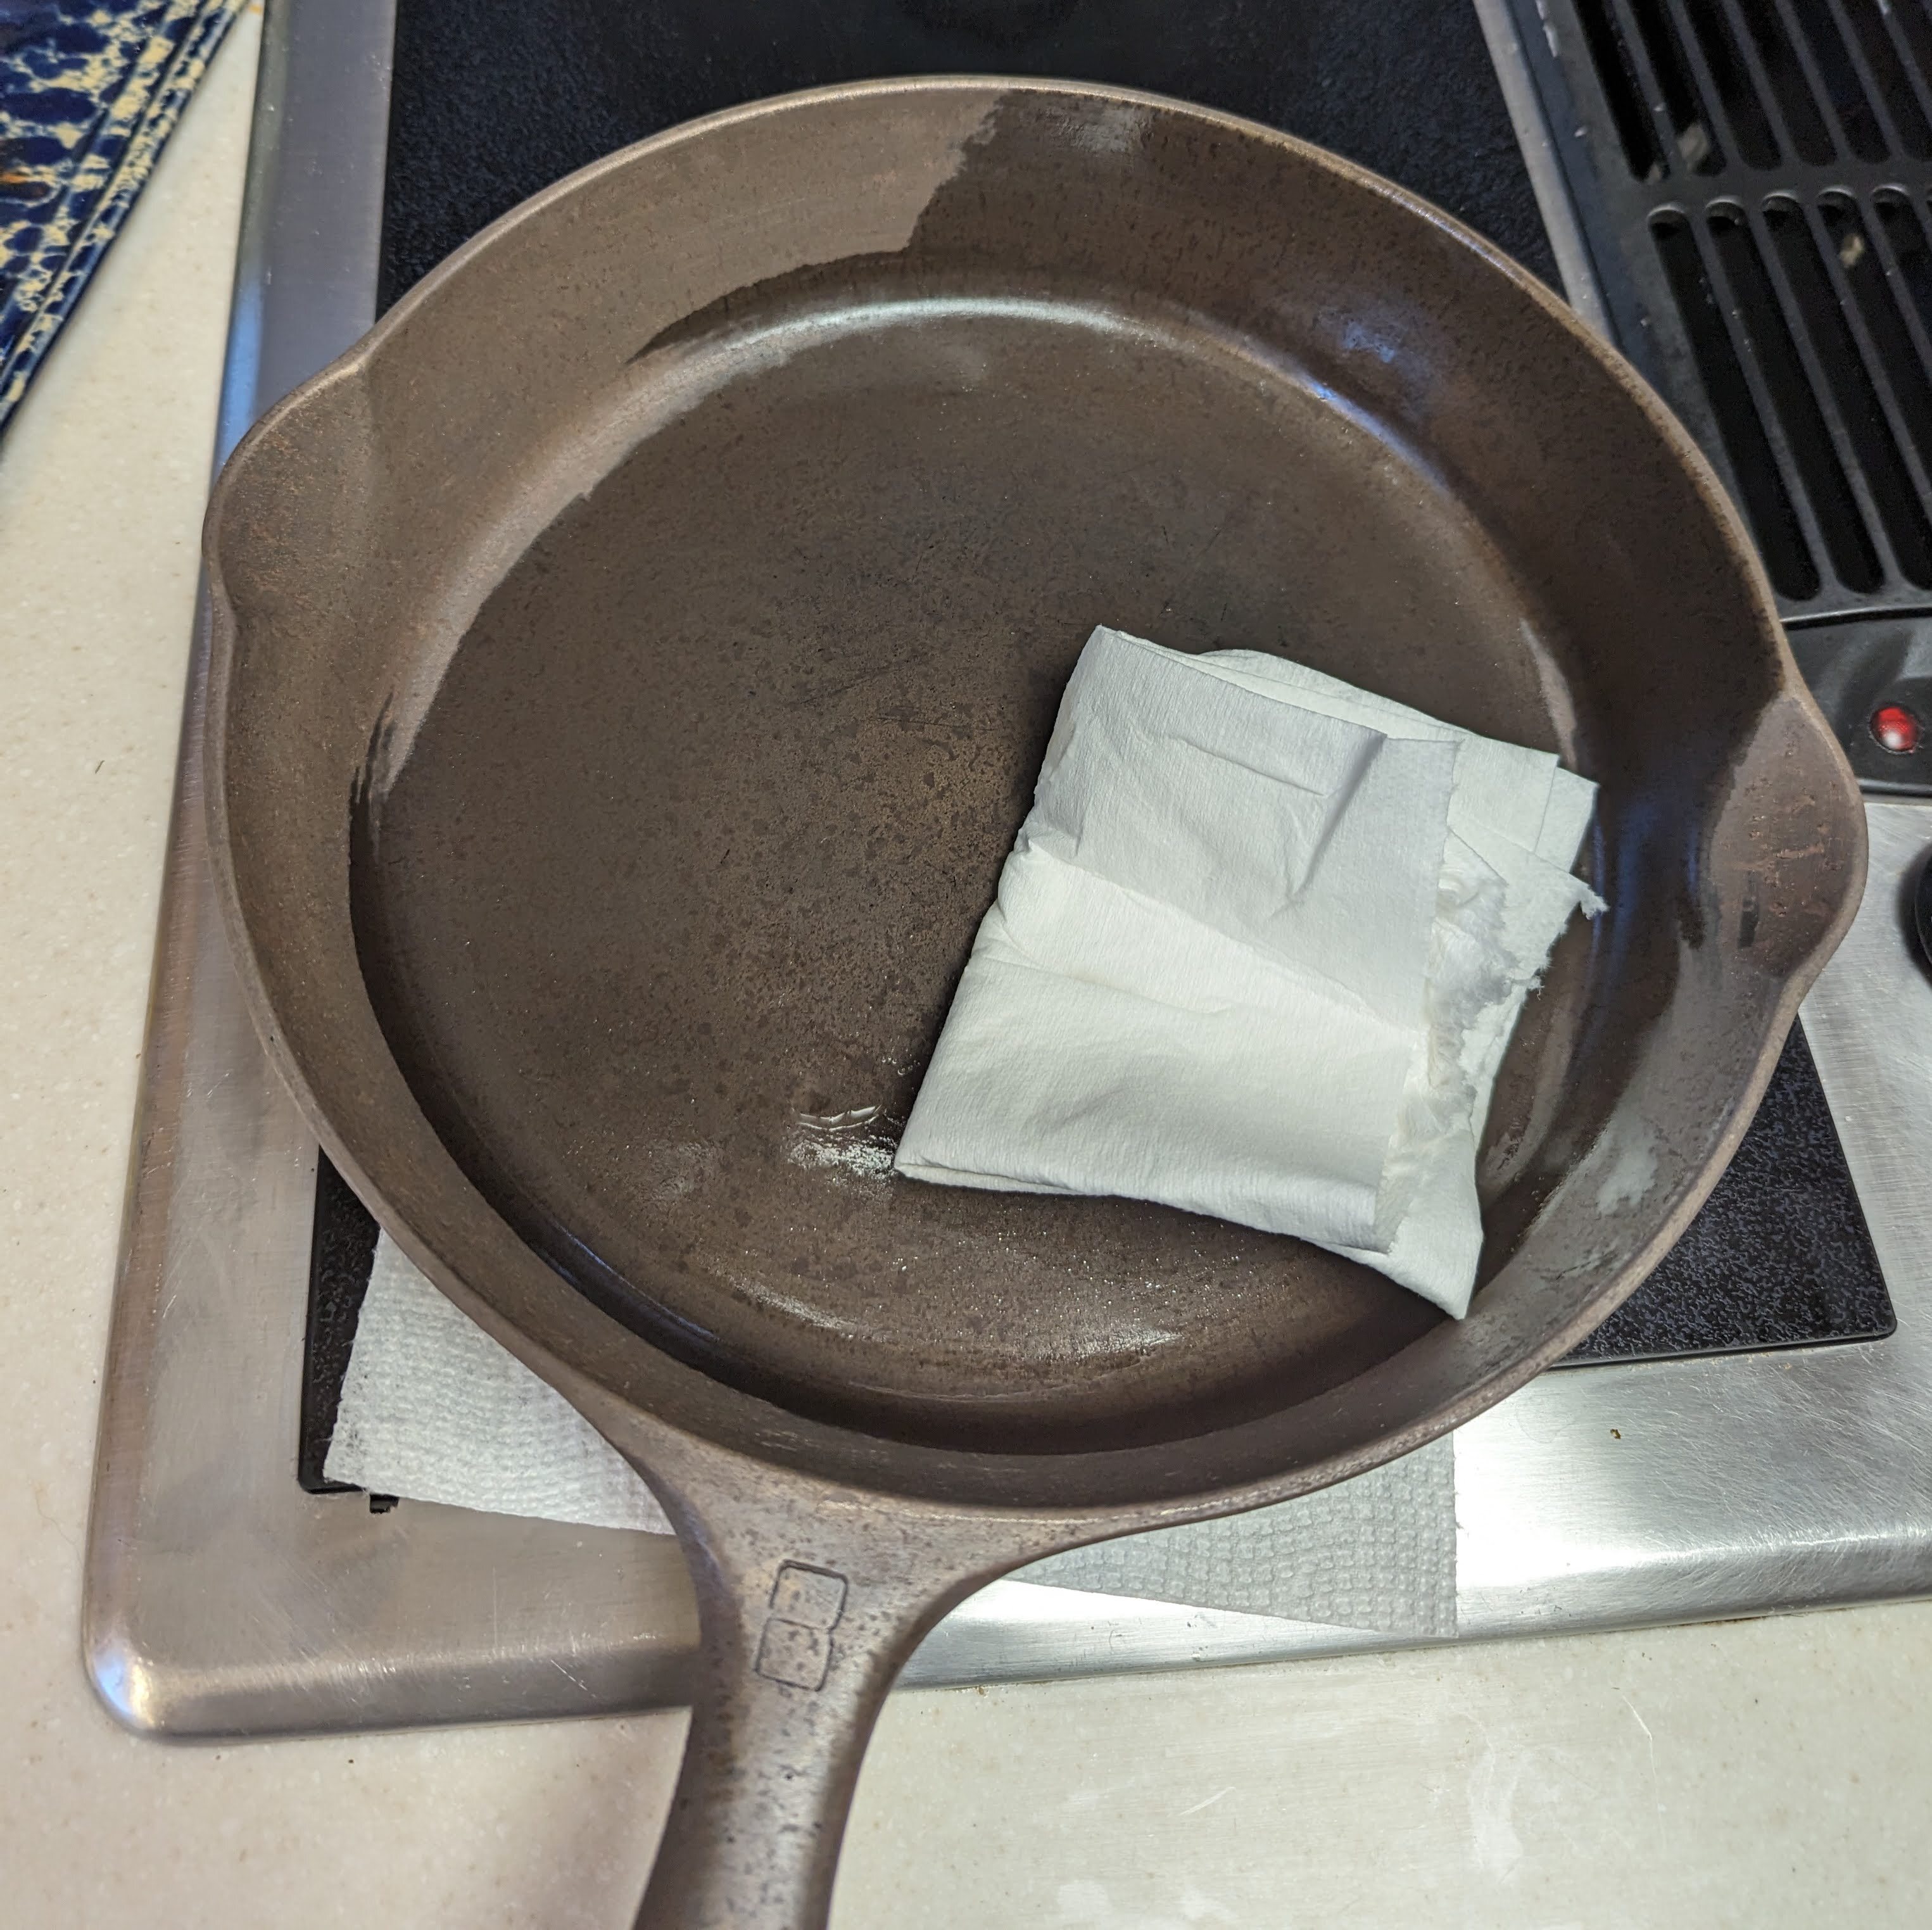
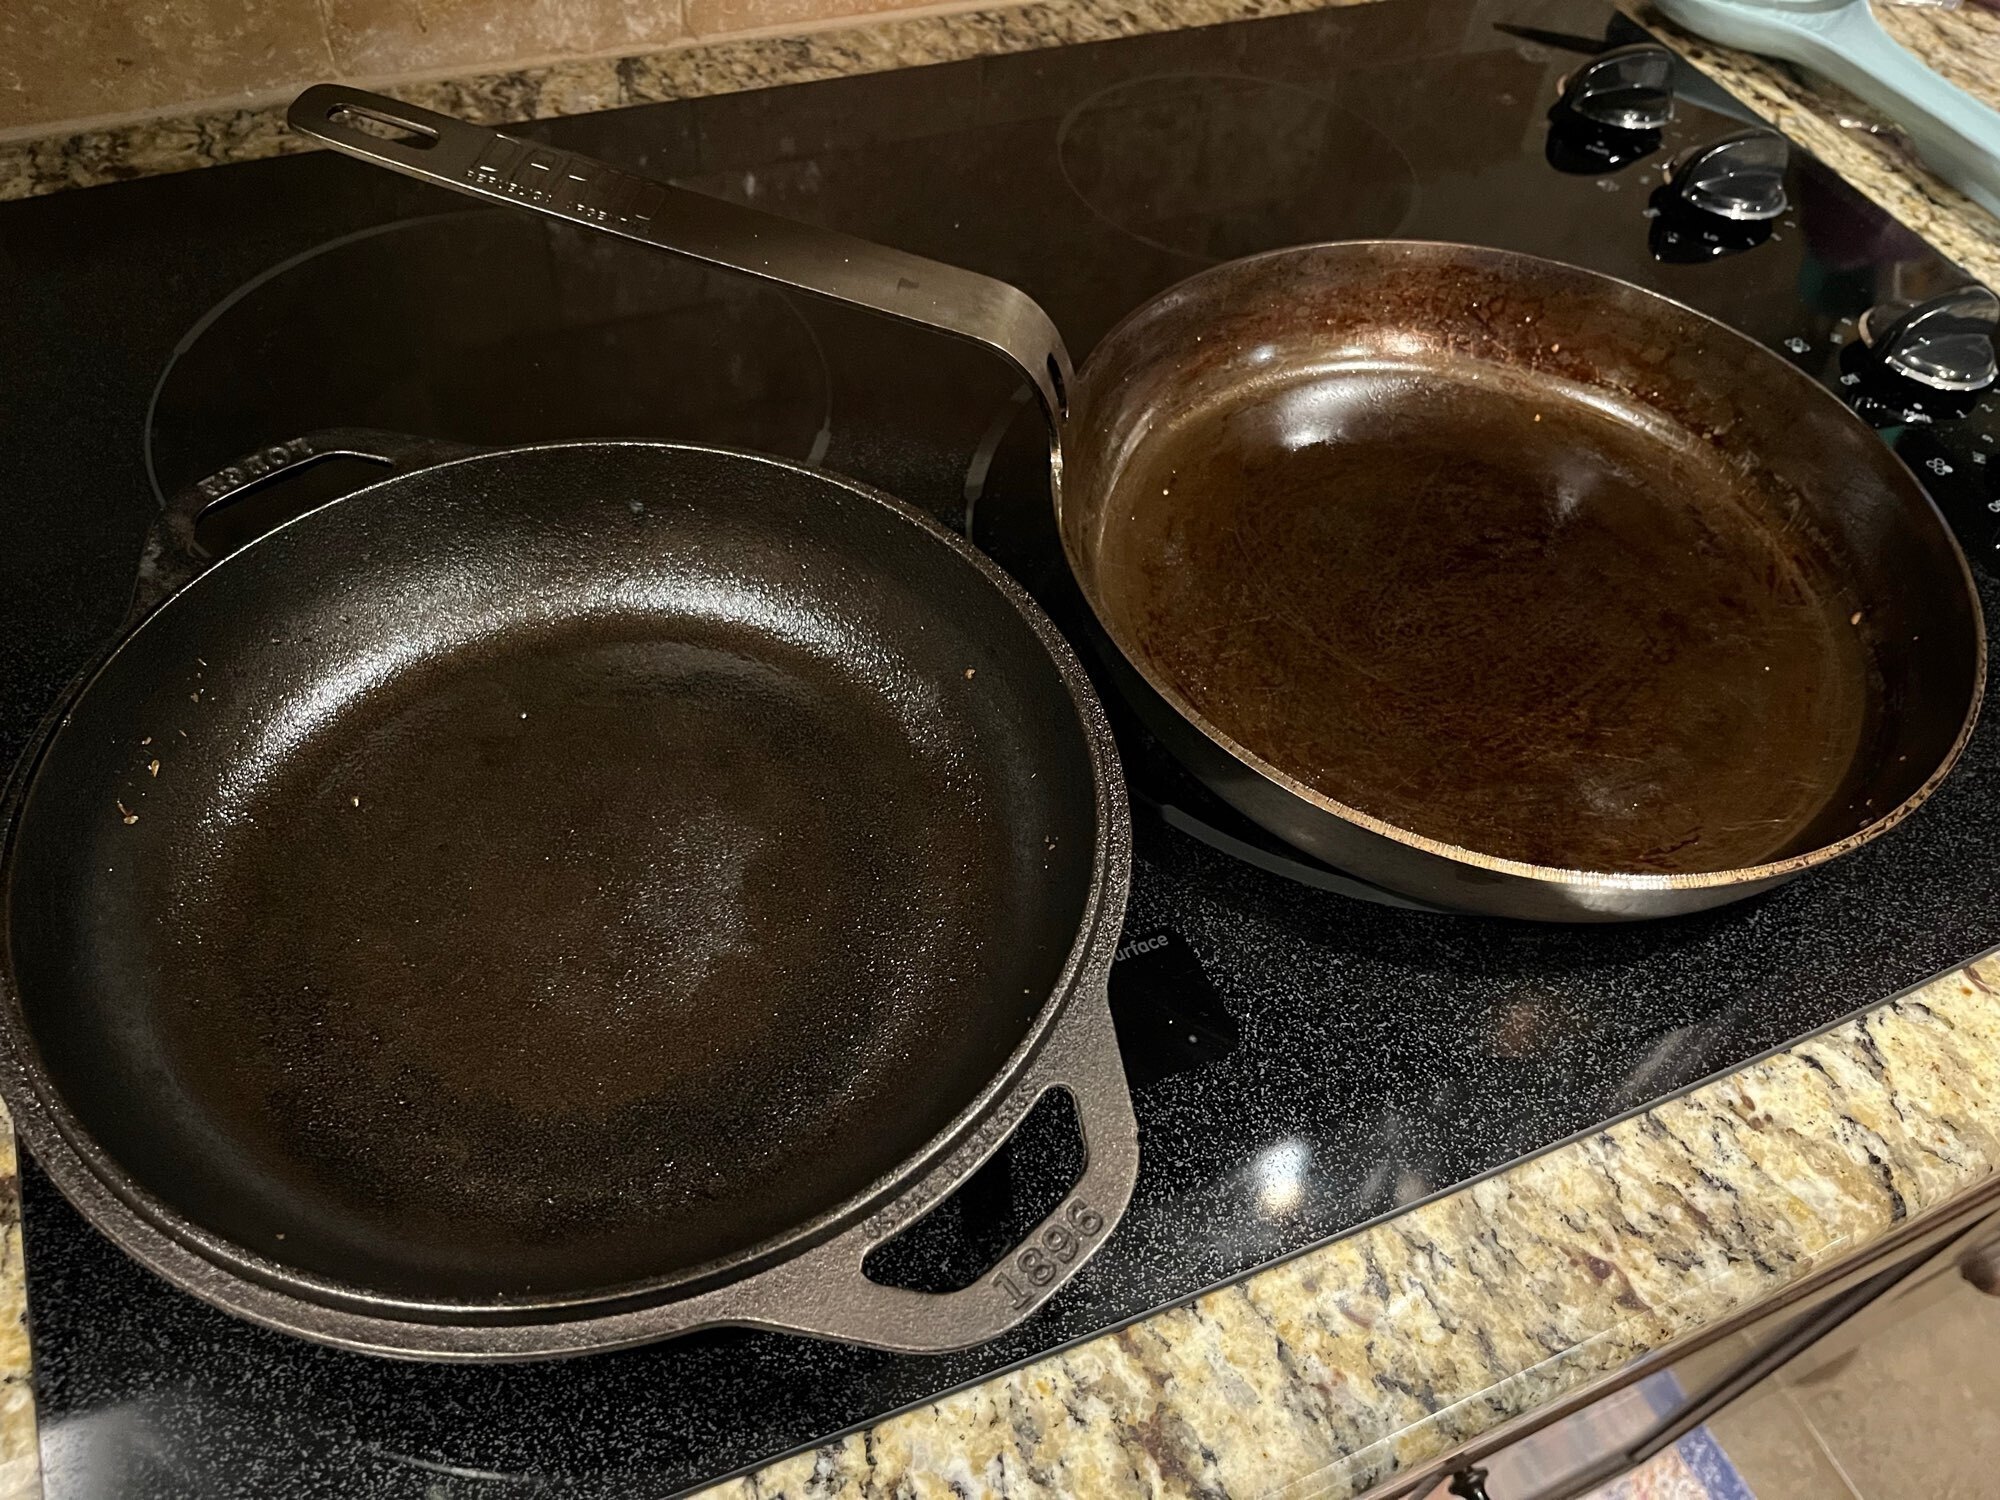
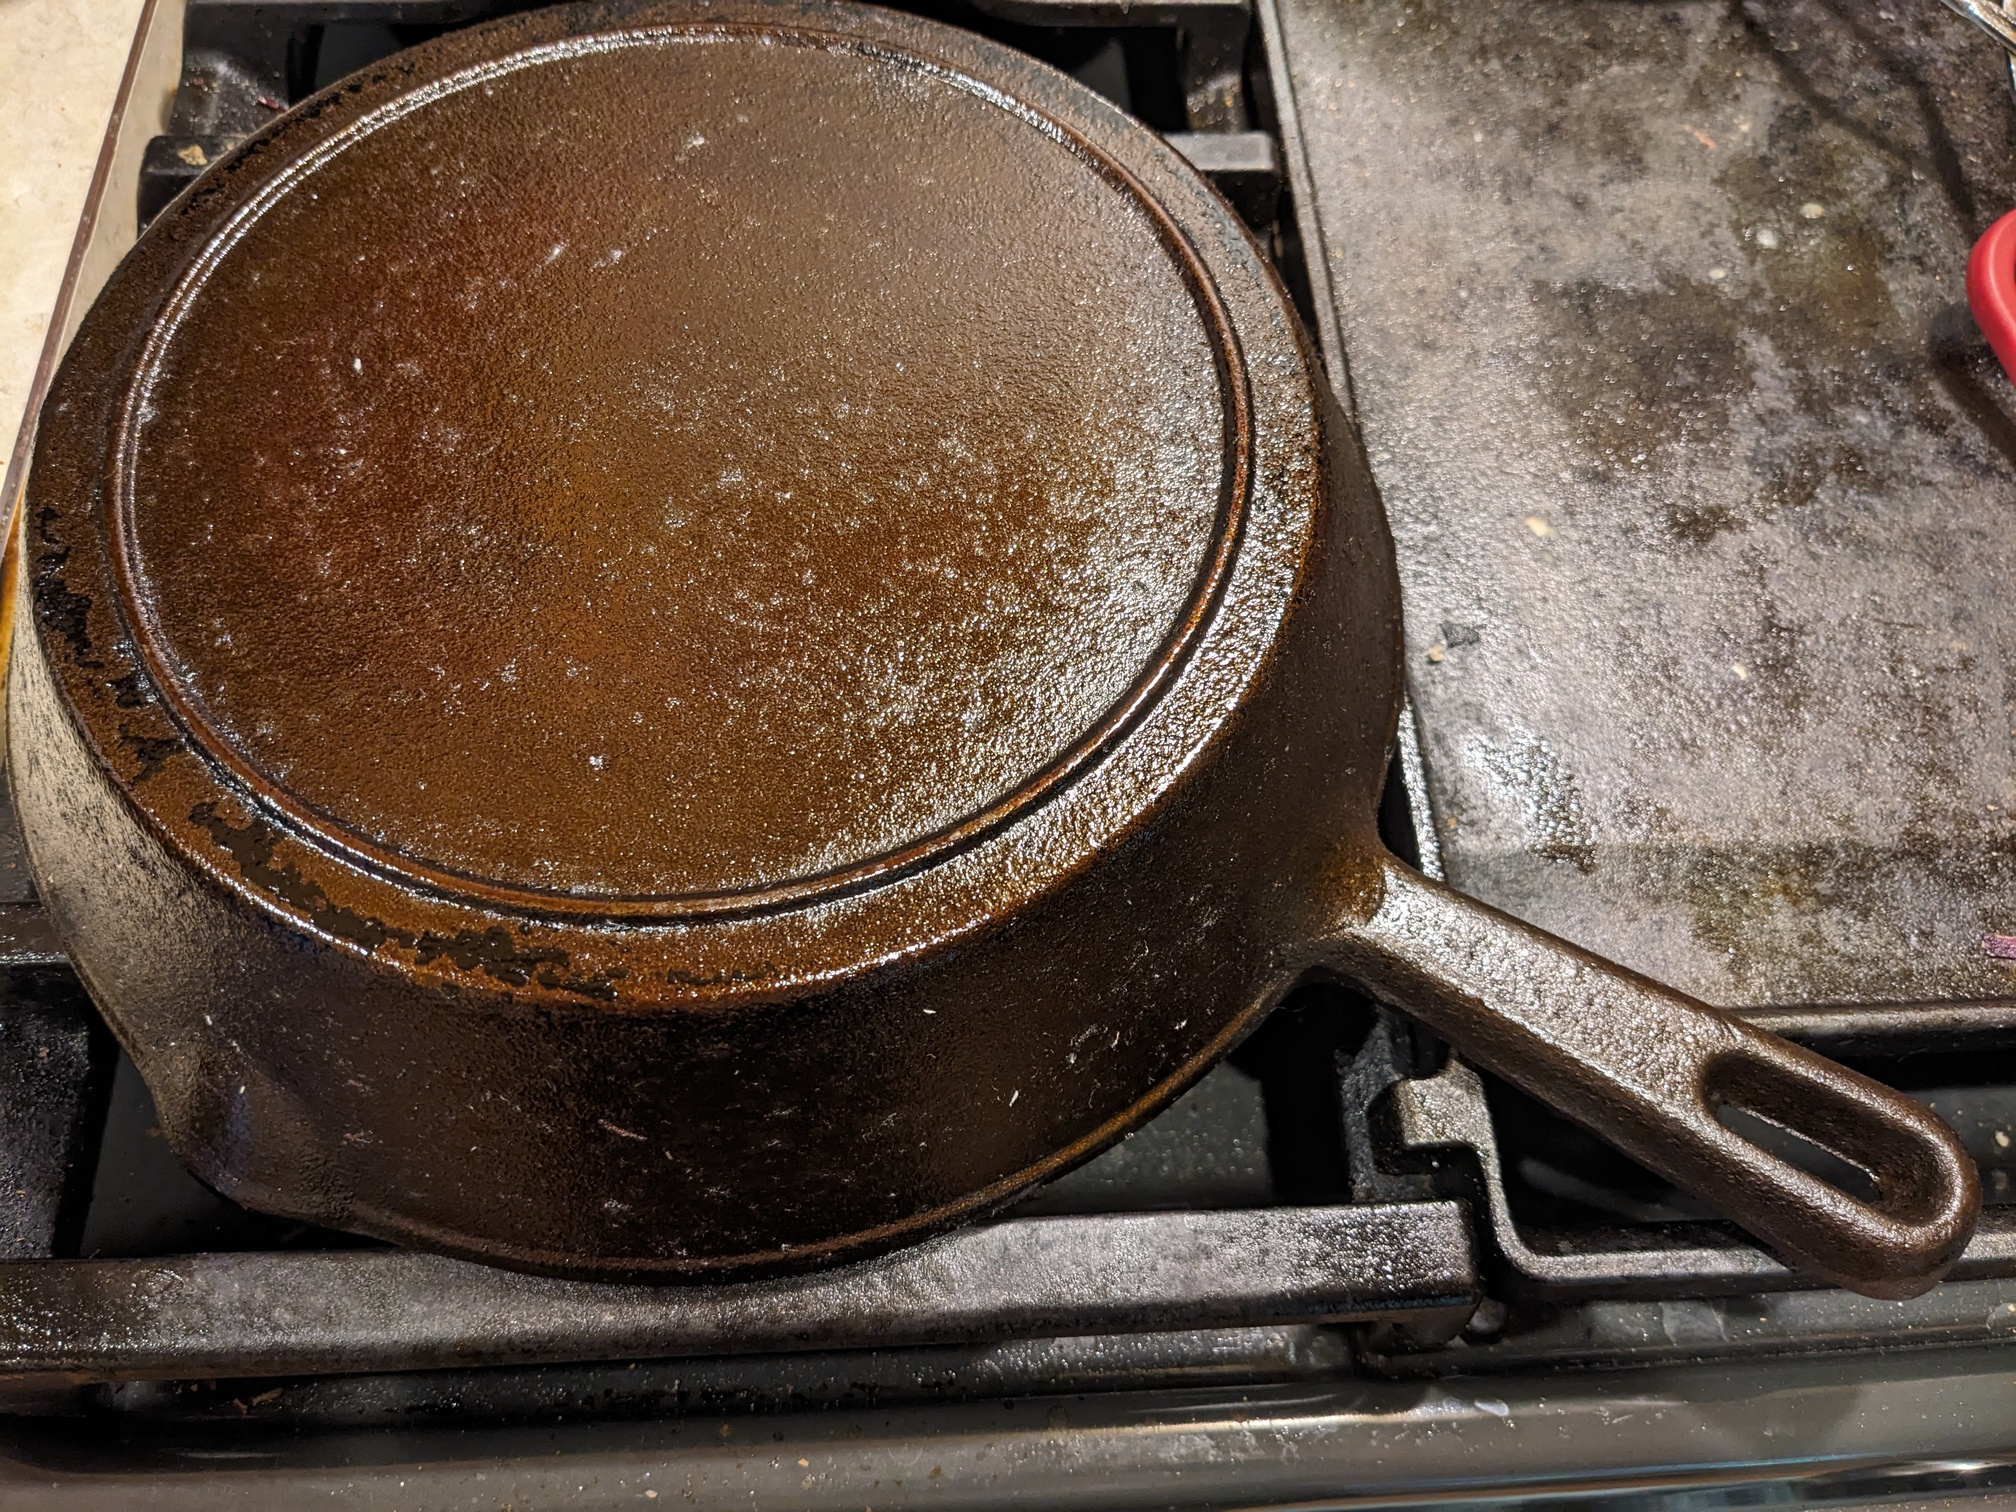
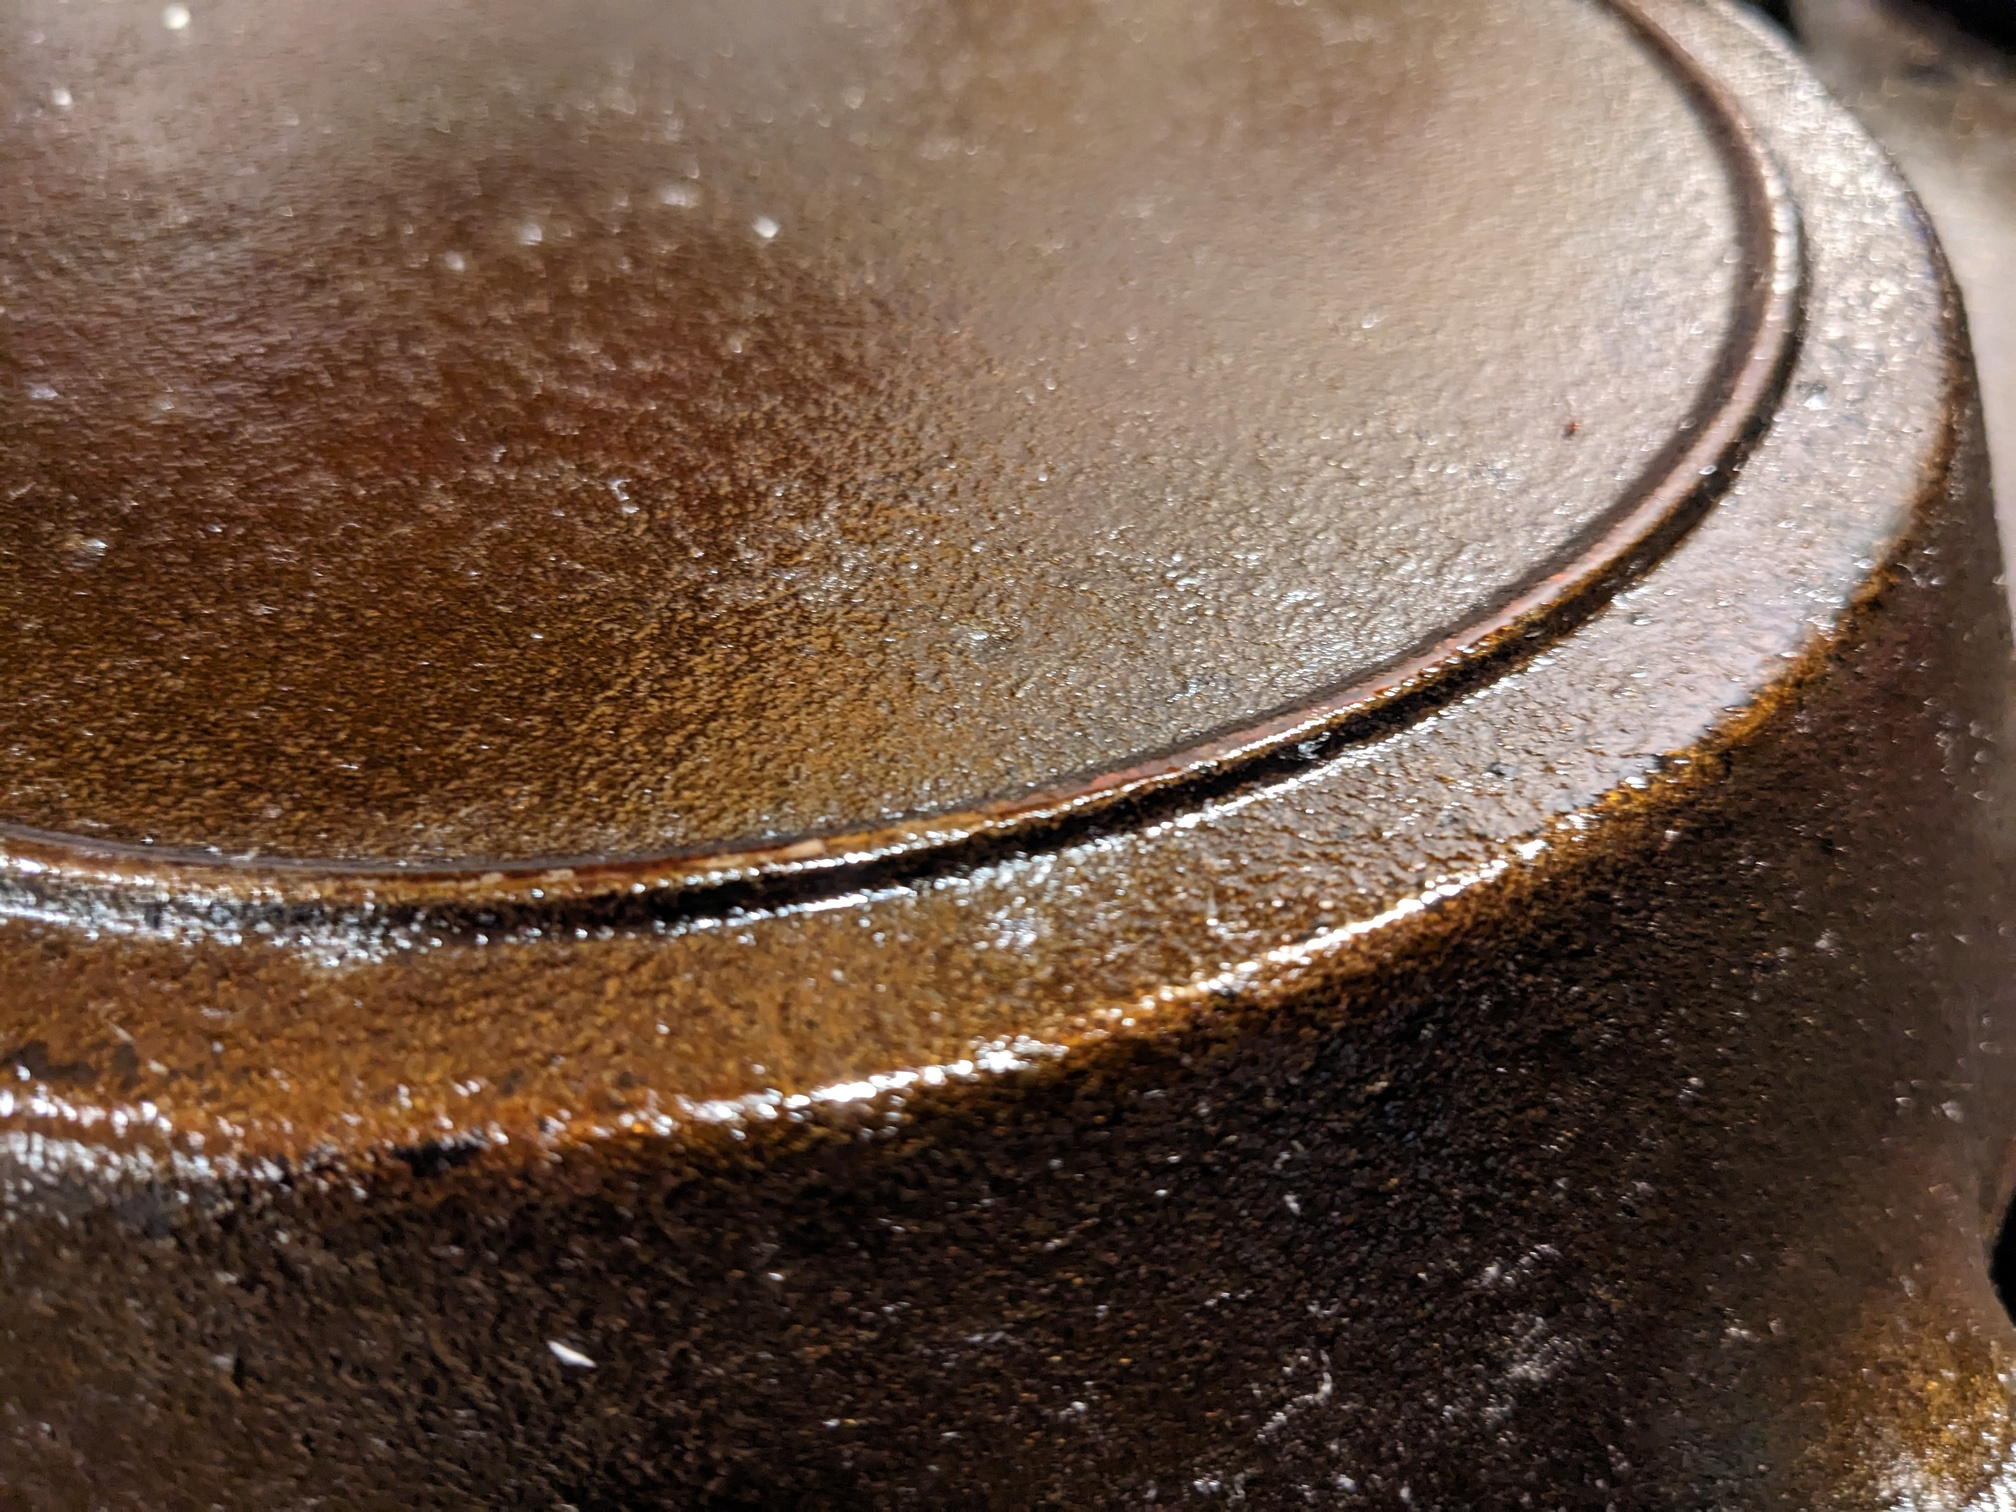
- Midway through a round of stipping/seasoning.
This pan was difficult to get completely stripped, but I prevailed in the end. I used Easy-Off, and it took multiple tries to get the stubborn stuff off. This is while applying the first coat of shortening to the bare iron. I tested both pans for lead, even though I've been using them both for a number of years. Thankfully, they tested negative. !
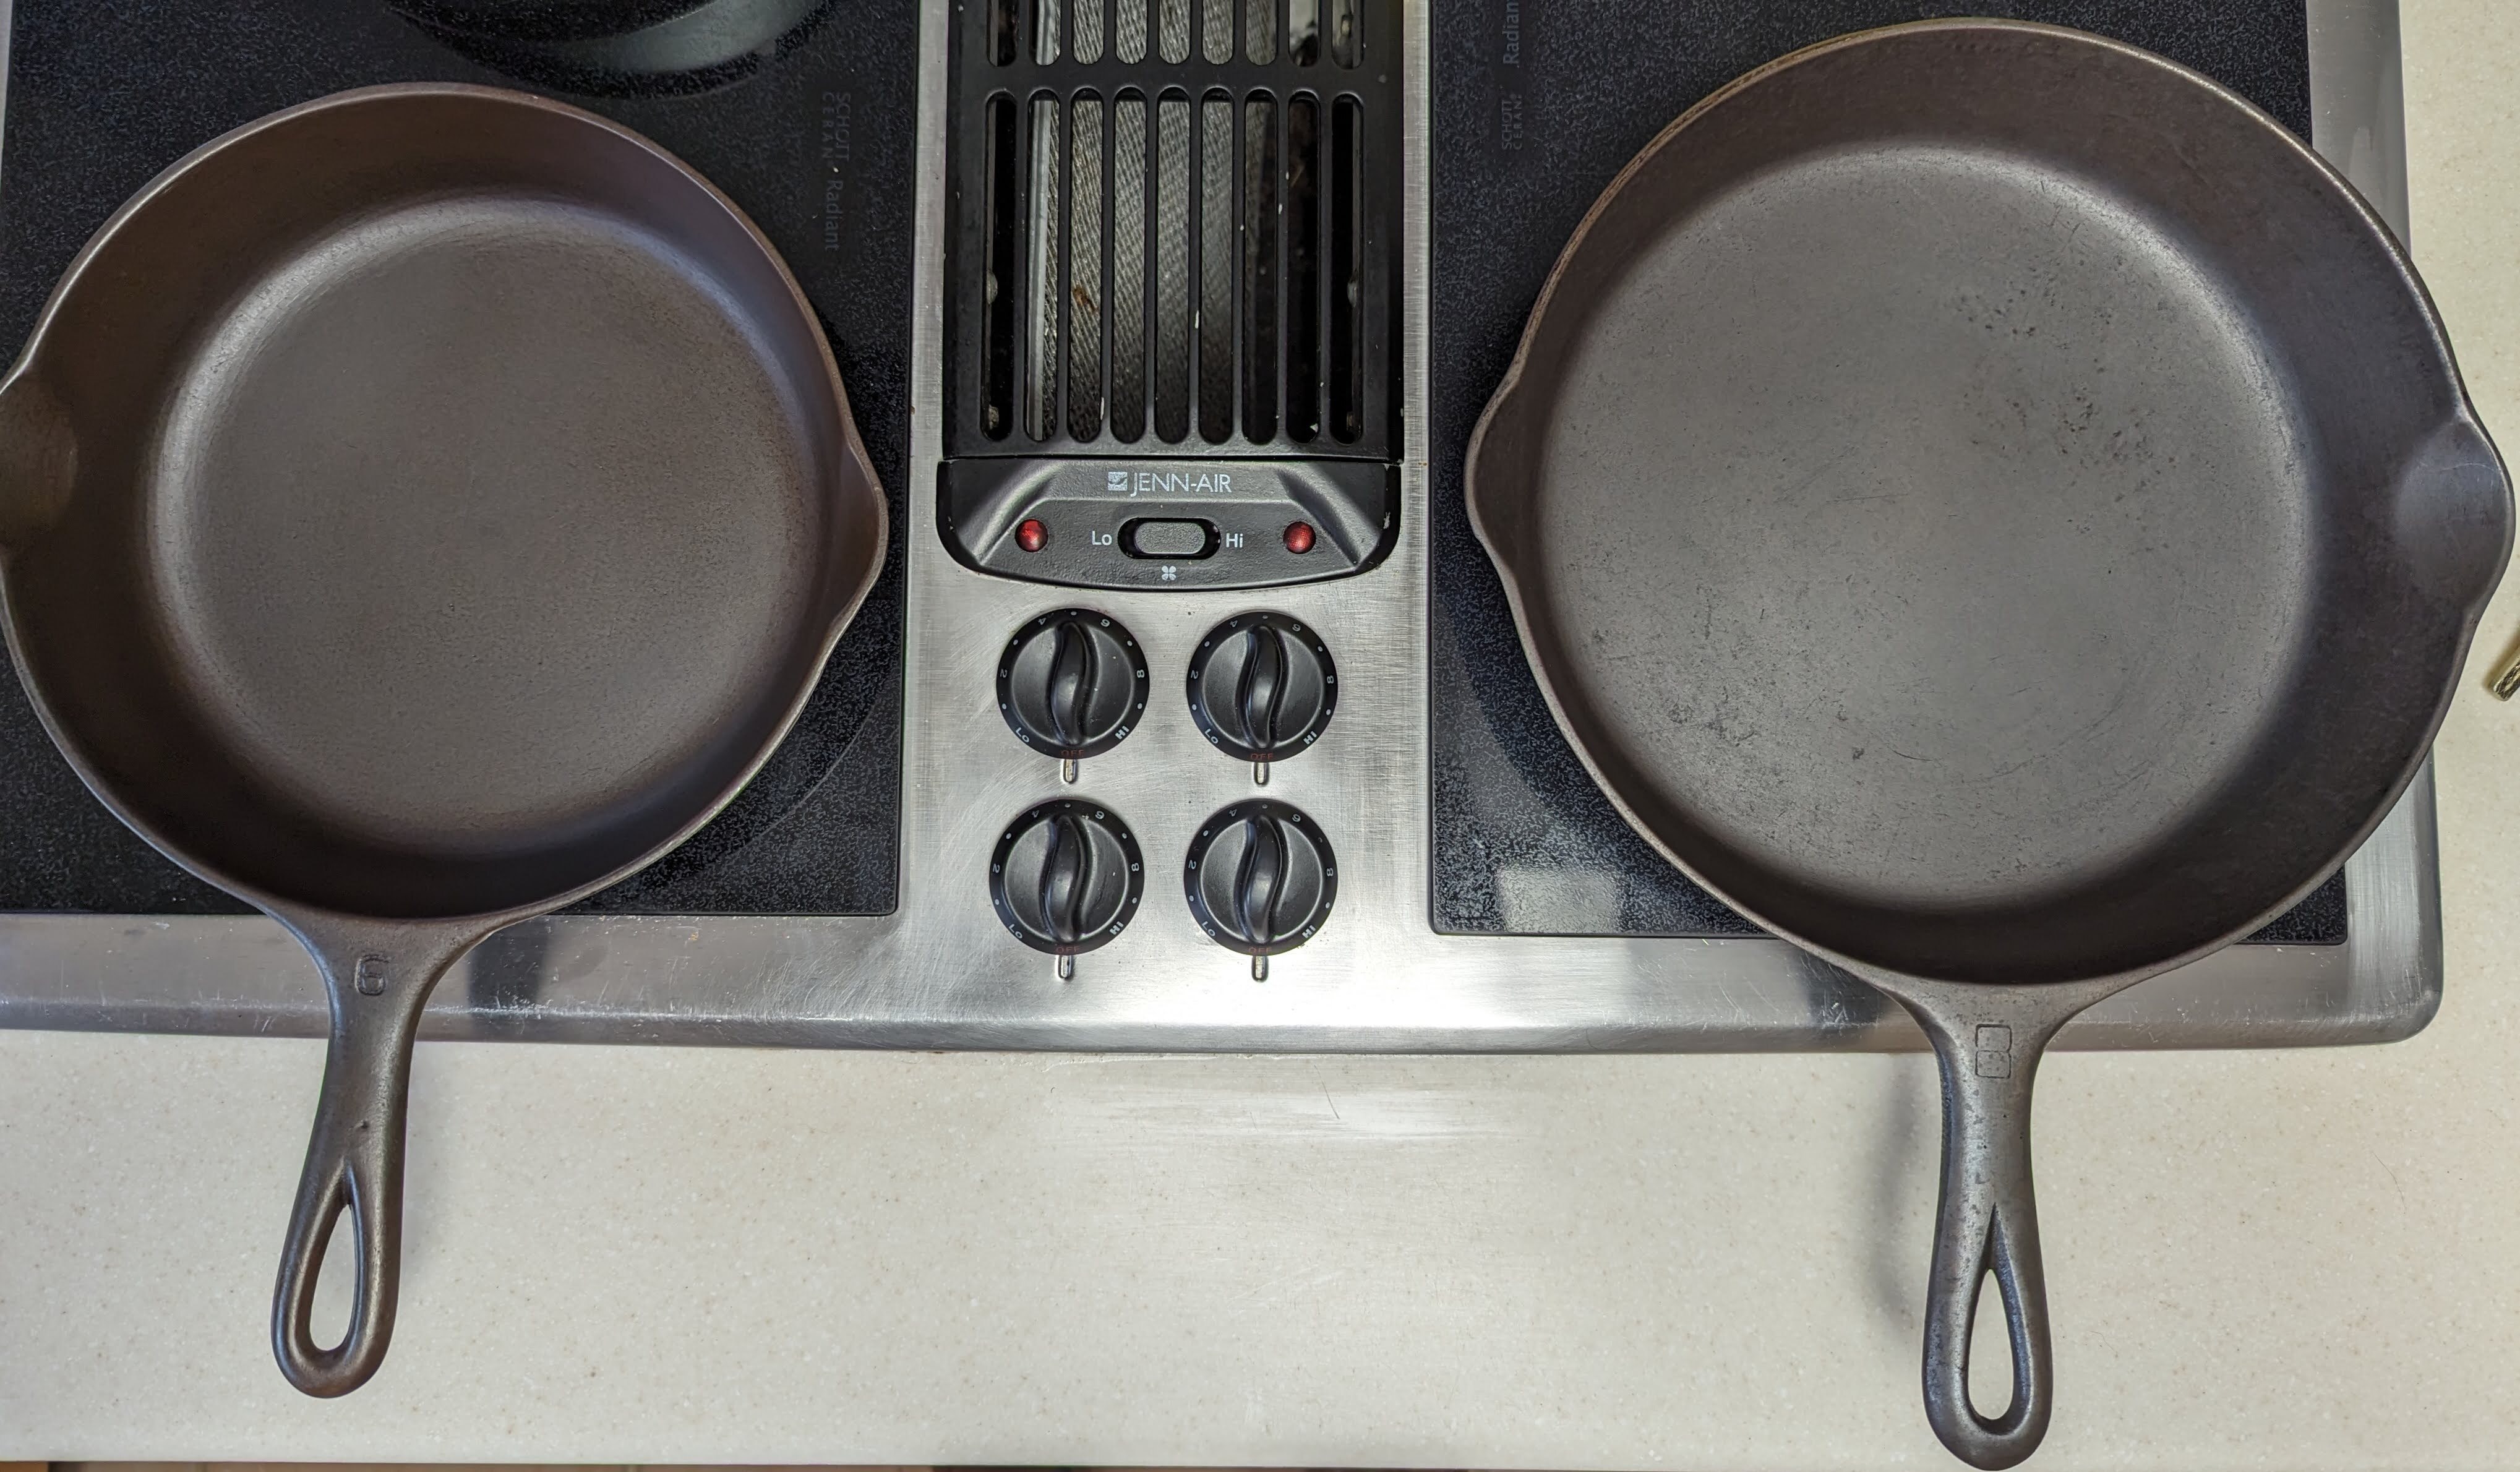
The pan on the left has 4 coats of seasoning. The pan on the right has one. I wanted to season them together, but the pan on the right took a long time to strip so it fell behind. !
Both pans are in the oven as I write this, getting their 6th and 3rd coats, respectively. I don't have a goal in mind, but I'll stop when the bigger pan looks good.
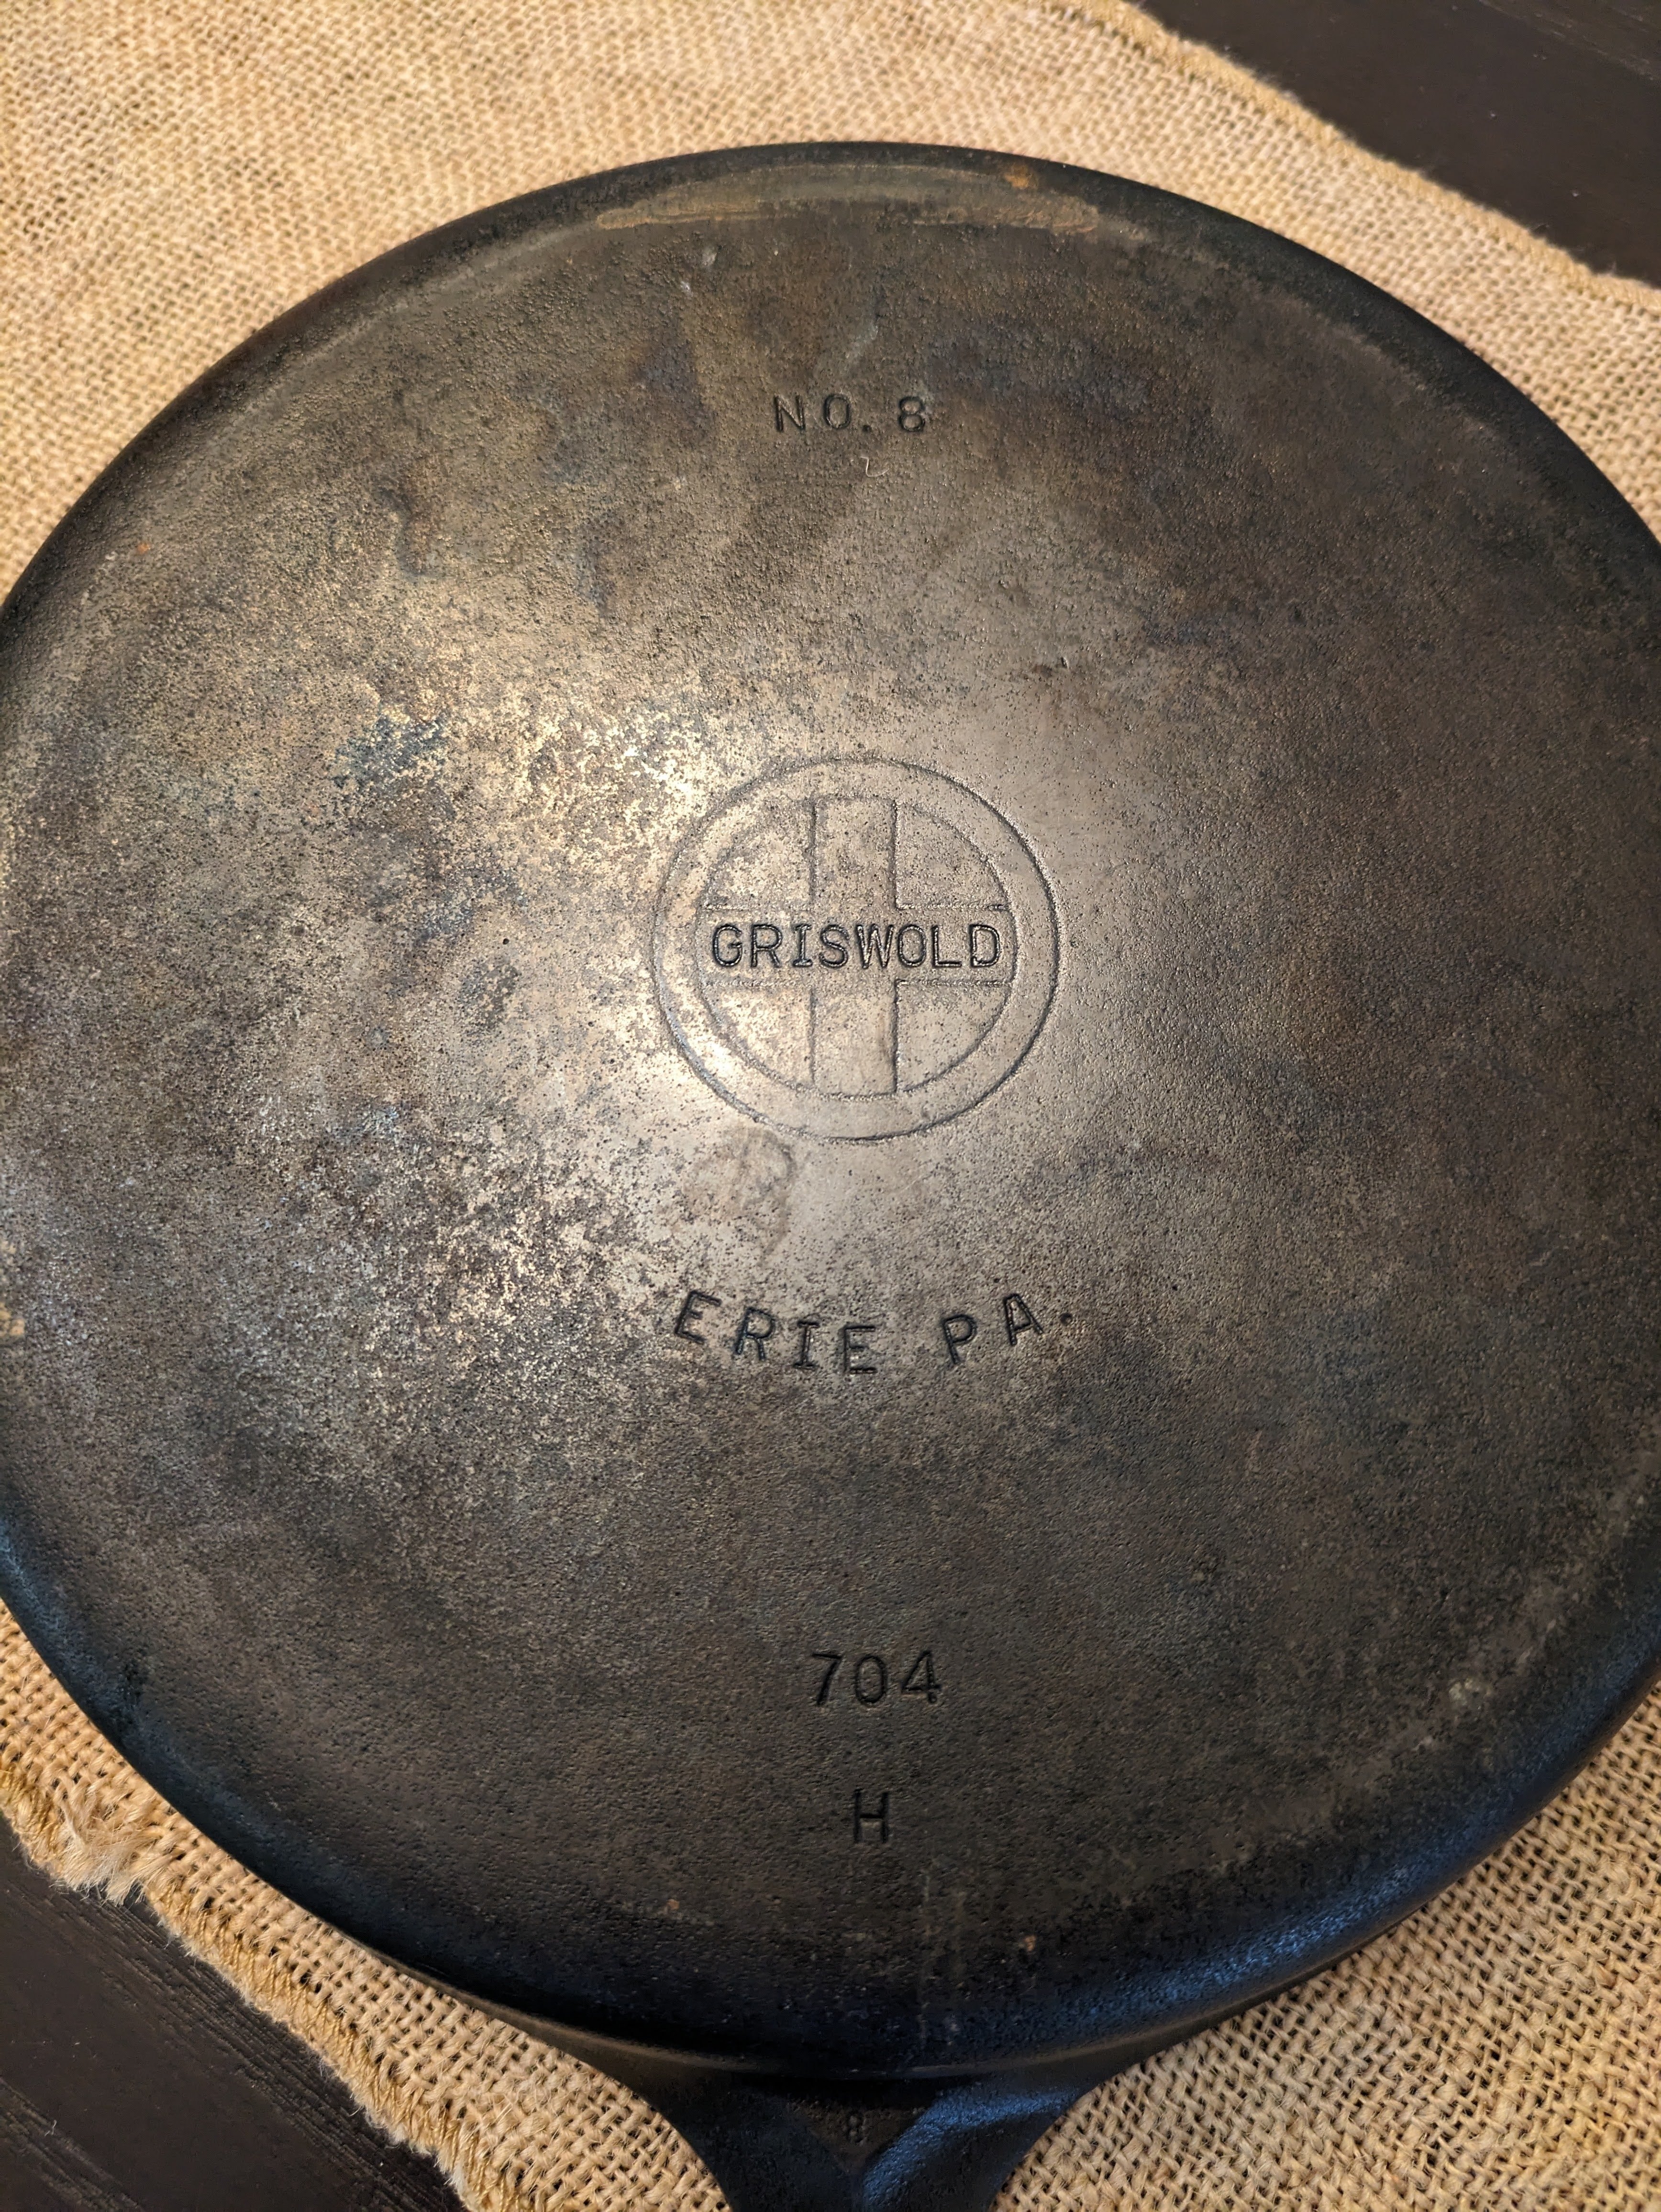
- An experiment in stripping old seasoning from a cast iron pan with drain cleaner.
I have a Griswold #8 that had some areas where the seasoning was failing. I don't remember what I seasoned it with, but it was about 5 years ago so it didn't last long. I blame my wife.
Anyway, I decided to strip and re-season. I used the Easy-Off method -- spray it down and let it sit in a garbage bag. This worked well except for some stubborn spots. I re-sprayed multiple times but the oven cleaner didn't seem to work.
I was going to keep chipping away at it with oven cleaner, but my can ran out so I went to the hardware store. Looking at the ingredients in oven cleaner, I realized that maybe drain cleaner would also work.
I got a big bottle of drain cleaner and headed home. I made sure to get basic (Sodium hydroxide) drain cleaner instead of acid, and got "gel" style so it would stick to the sides of the pan better.
It didn't work. I don't recommend trying it because it's a waste of time. Oven cleaner must have a bunch of other stuff in it, not just lye.
So, I'm going to head back to the store and get more oven cleaner. It's so close to being fully stripped, I'm sure I can finish it off with oven cleaner.
In the past I've used electrolysis, self-cleaning oven method, and oven cleaner. Oven cleaner is my preferred method, even after struggling with a few spots this time.
I was going to try and finish this pan off with the self-cleaning oven method, but the latch on my oven door is broken, so it won't perform the cycle.
Anyway, thanks for reading! I don't have any pictures, but I will take some once I start the seasoning process.
- Just wanting to share this absolute steal I got today
I just acquired a Vollrath #8 deep dryer with lid, in fantastic condition, just needing to be stripped and reseasoned. I see these going anywhere from $140 to $290 online.
I got it for $40!!!
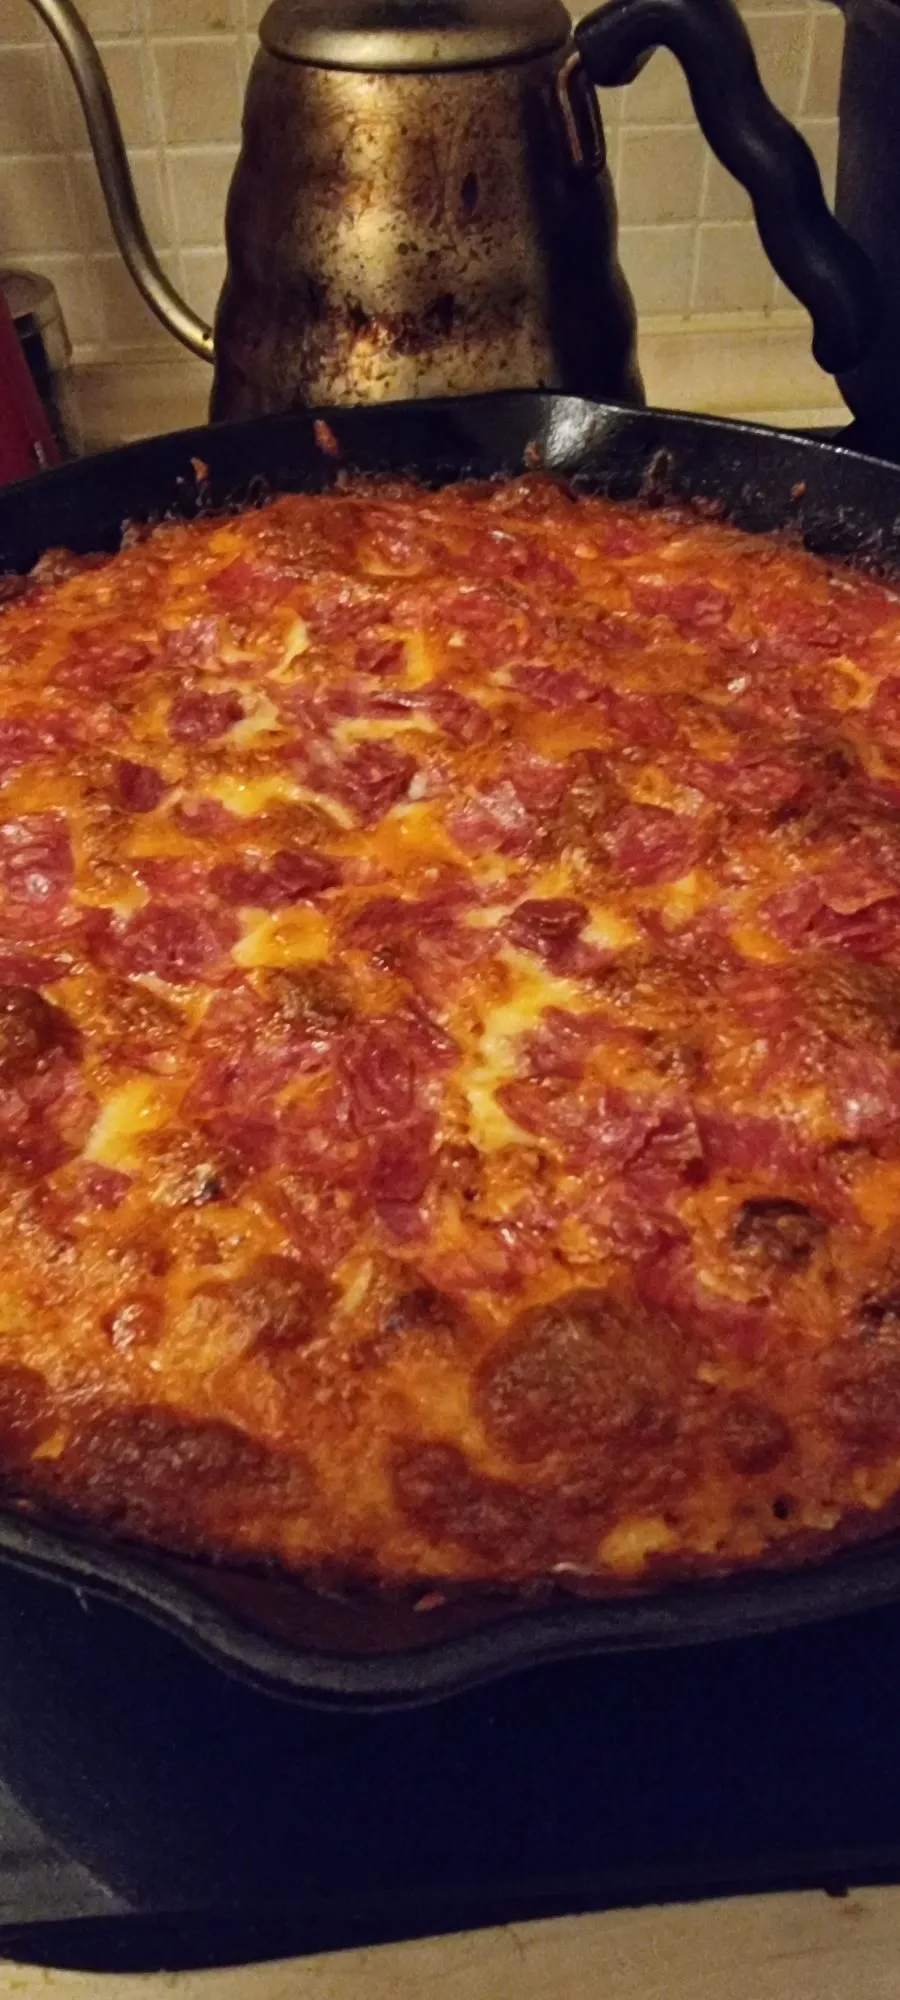
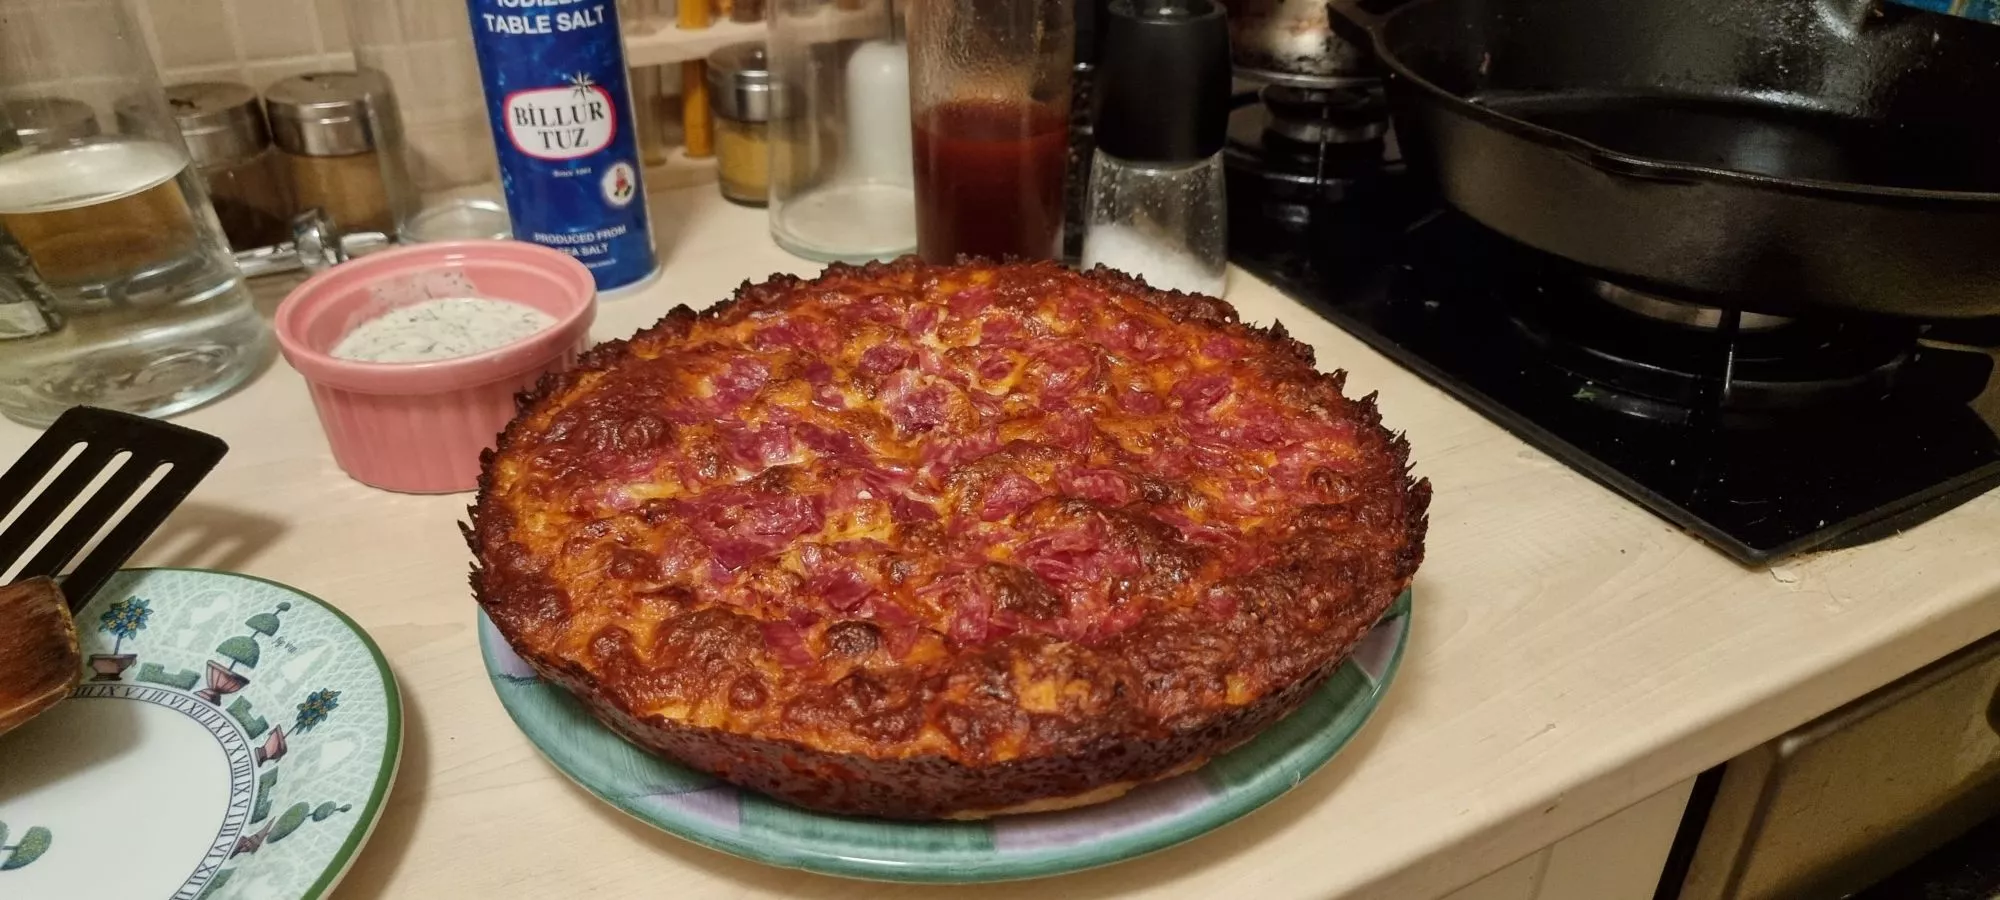
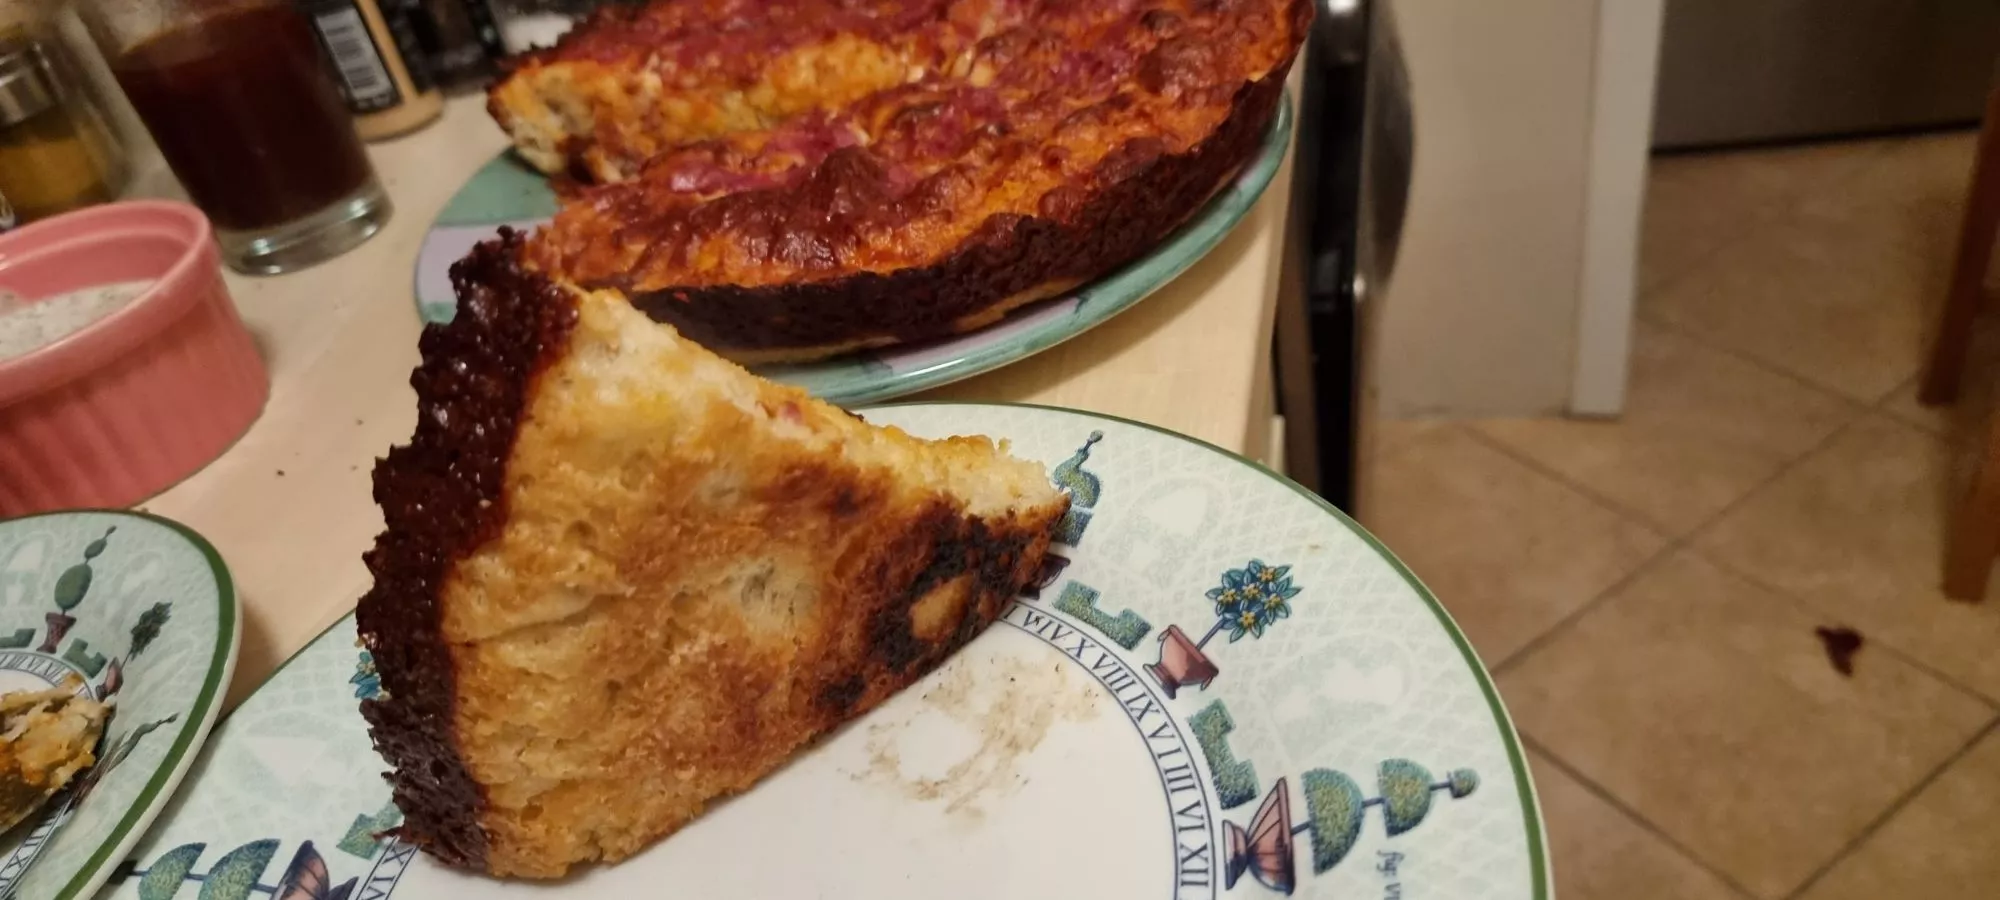
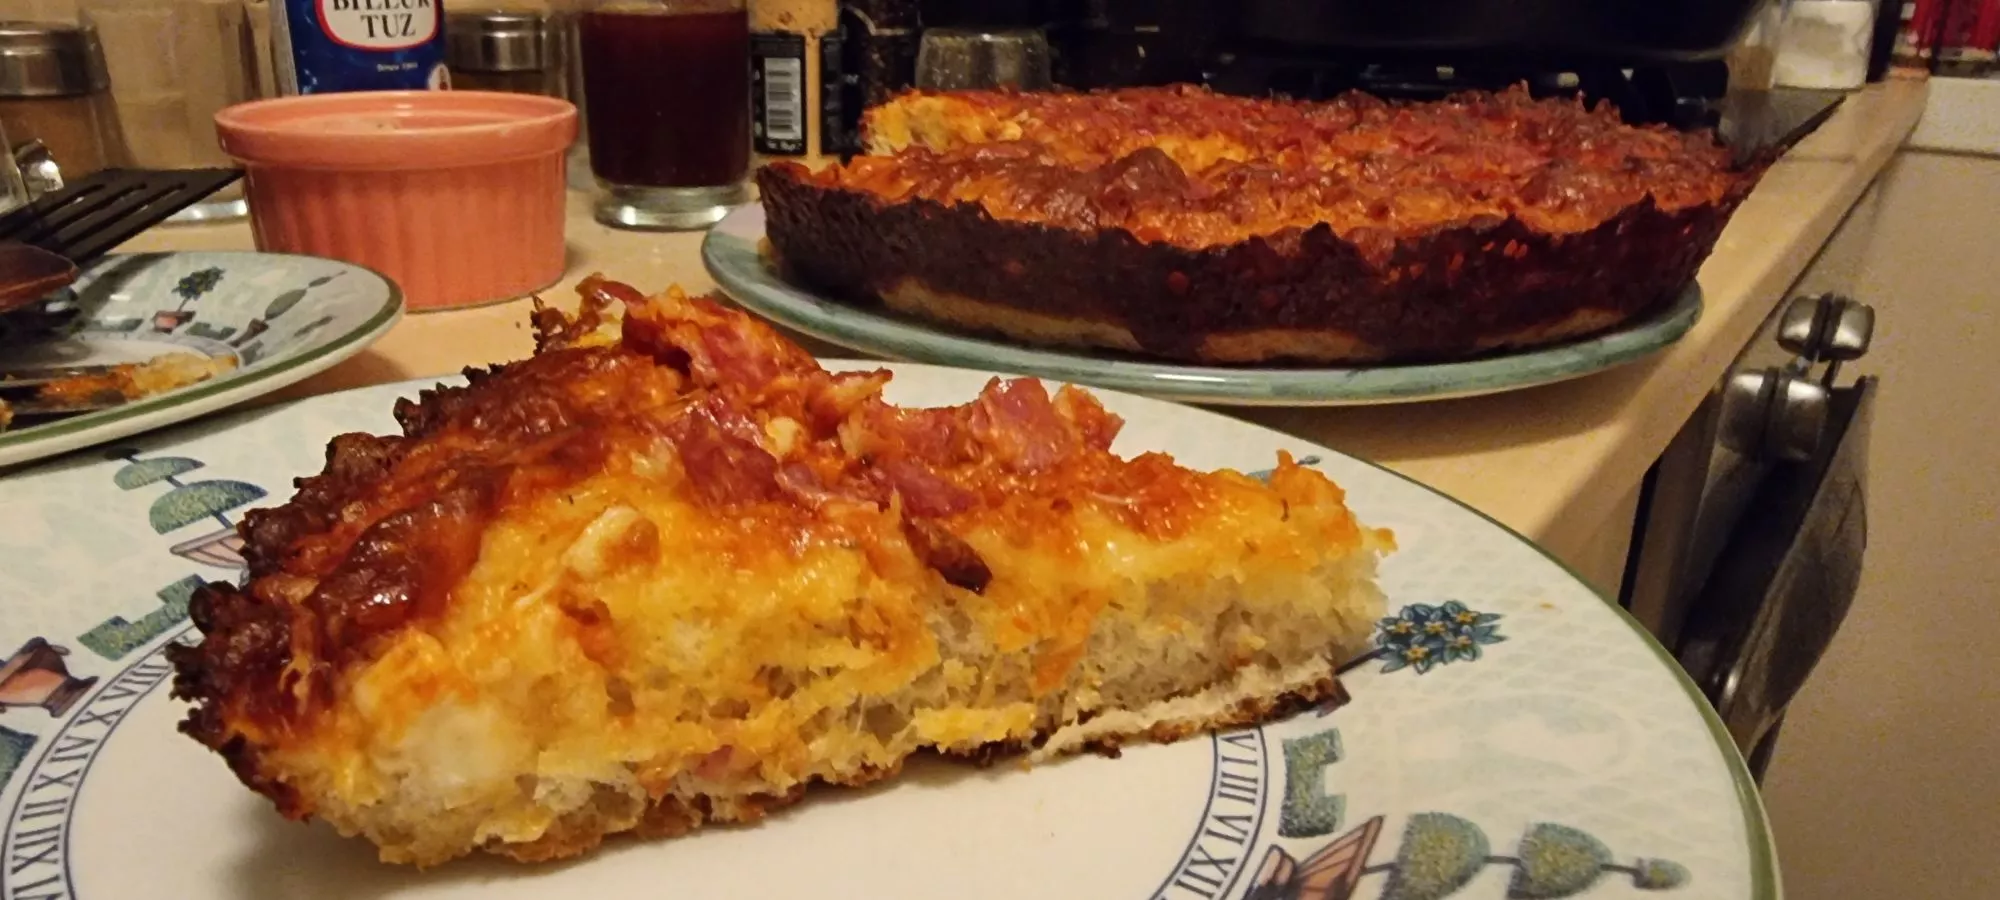
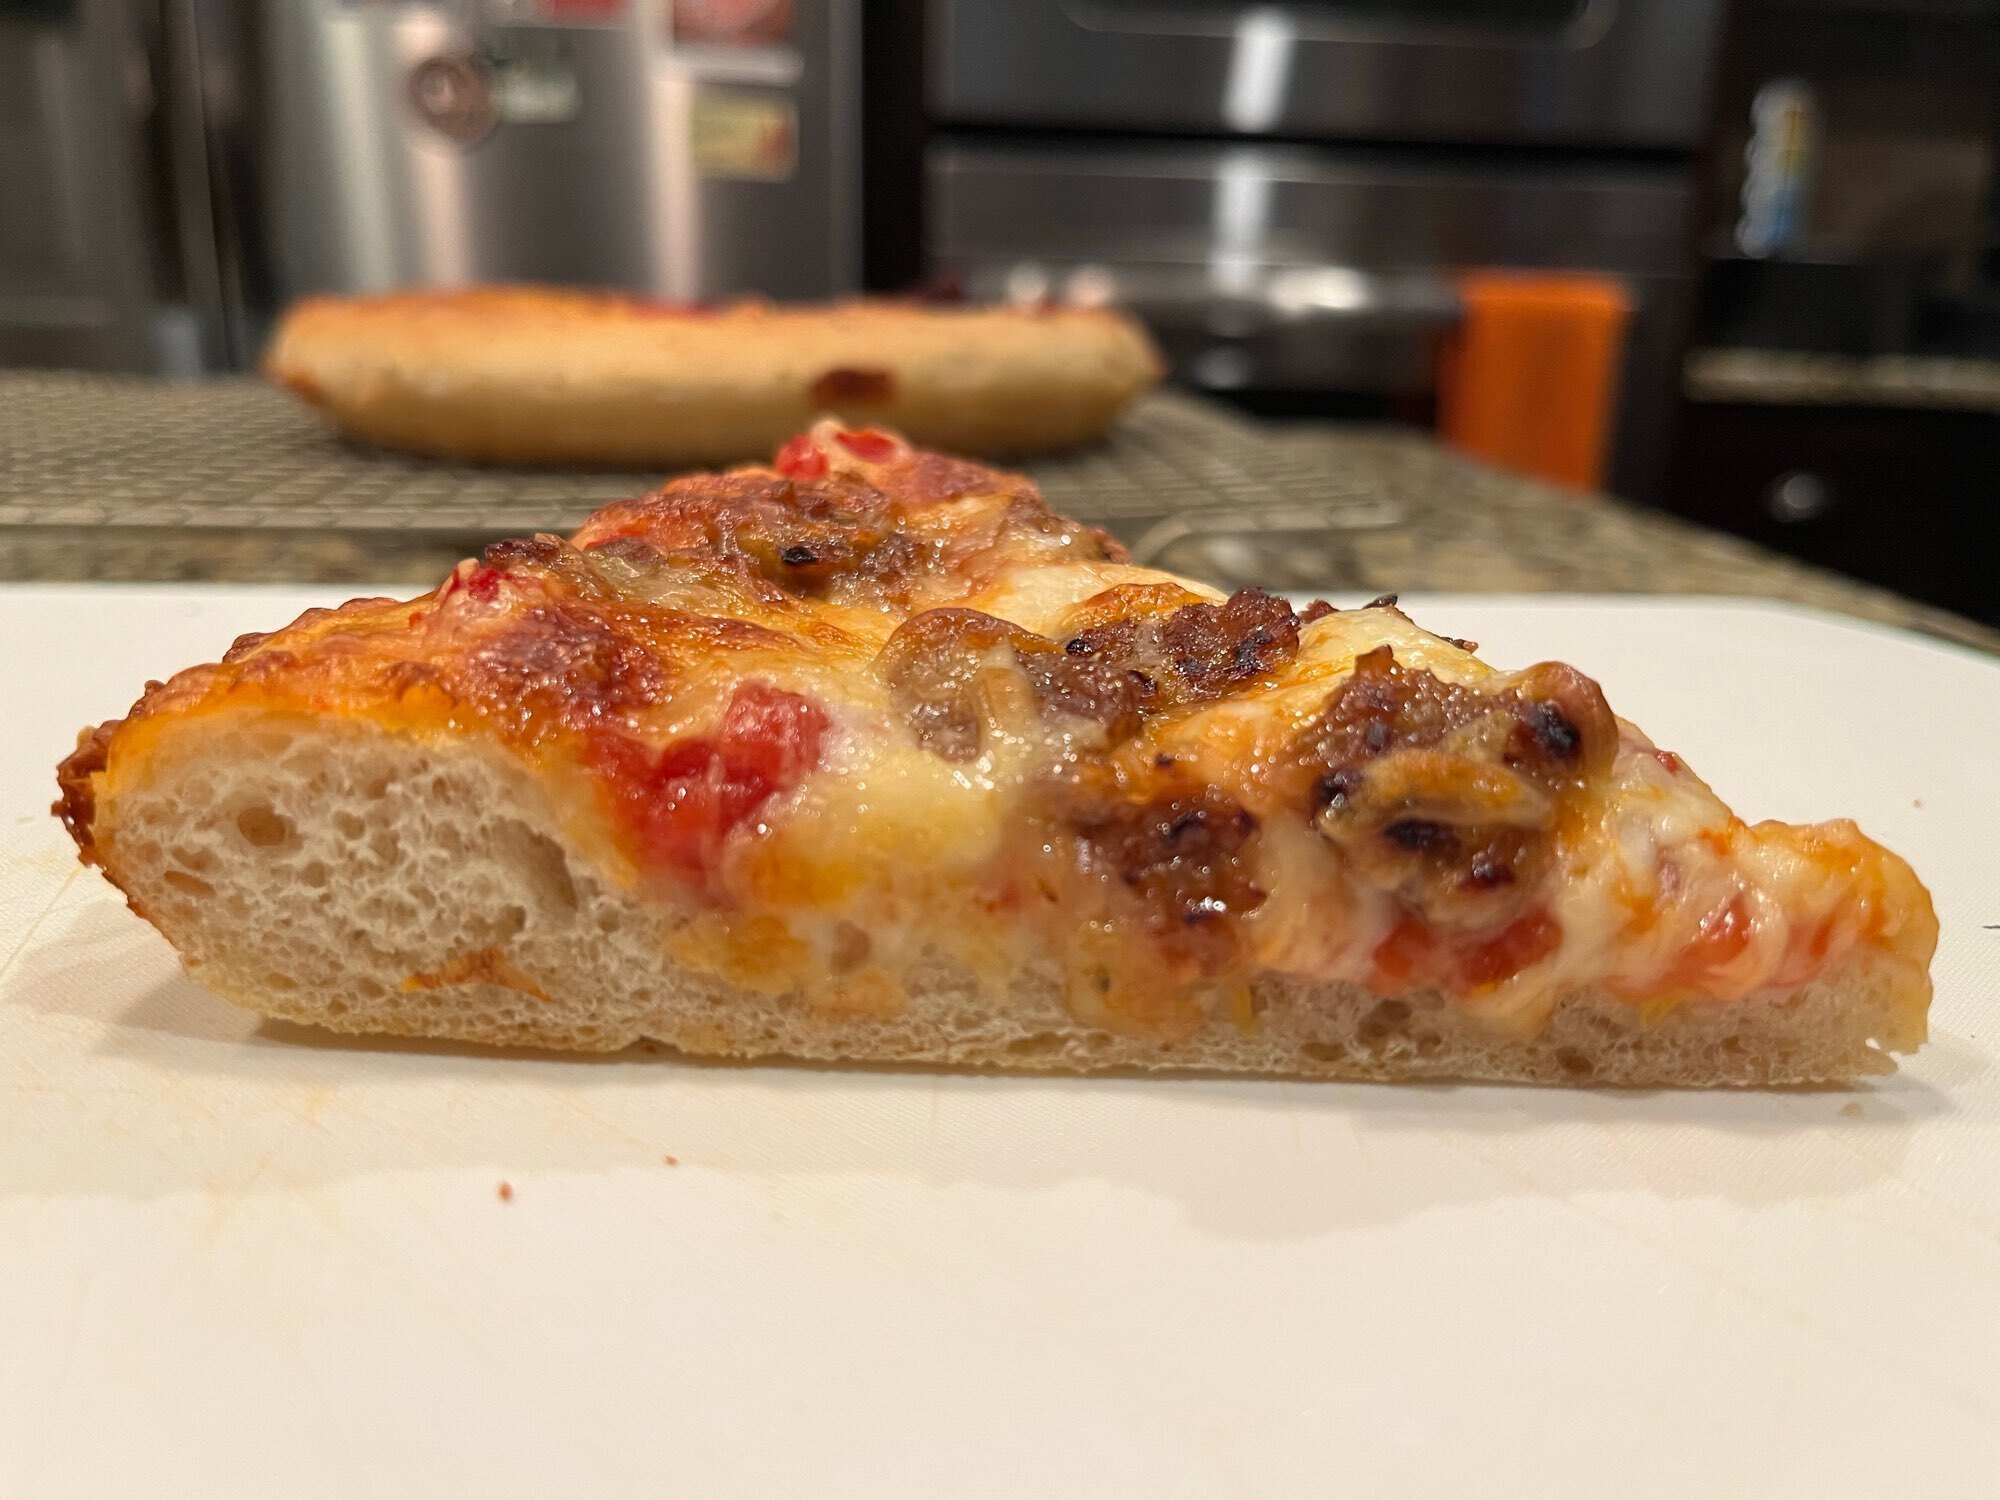
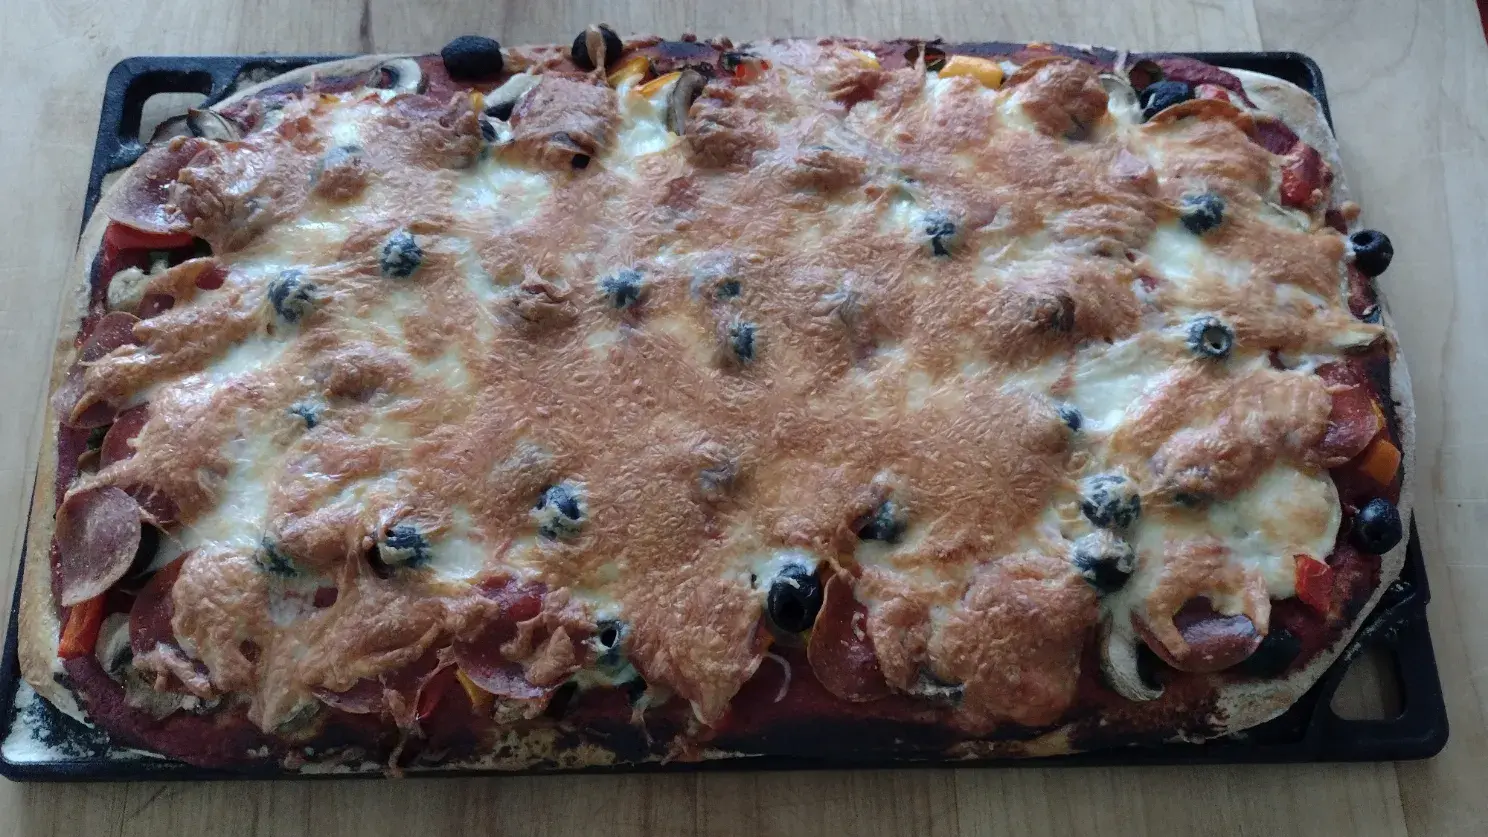
- Cast Iron Pan Pizza
Made some pan pizza, the other day. Followed this recipe, with some added Napoli Salame on top.
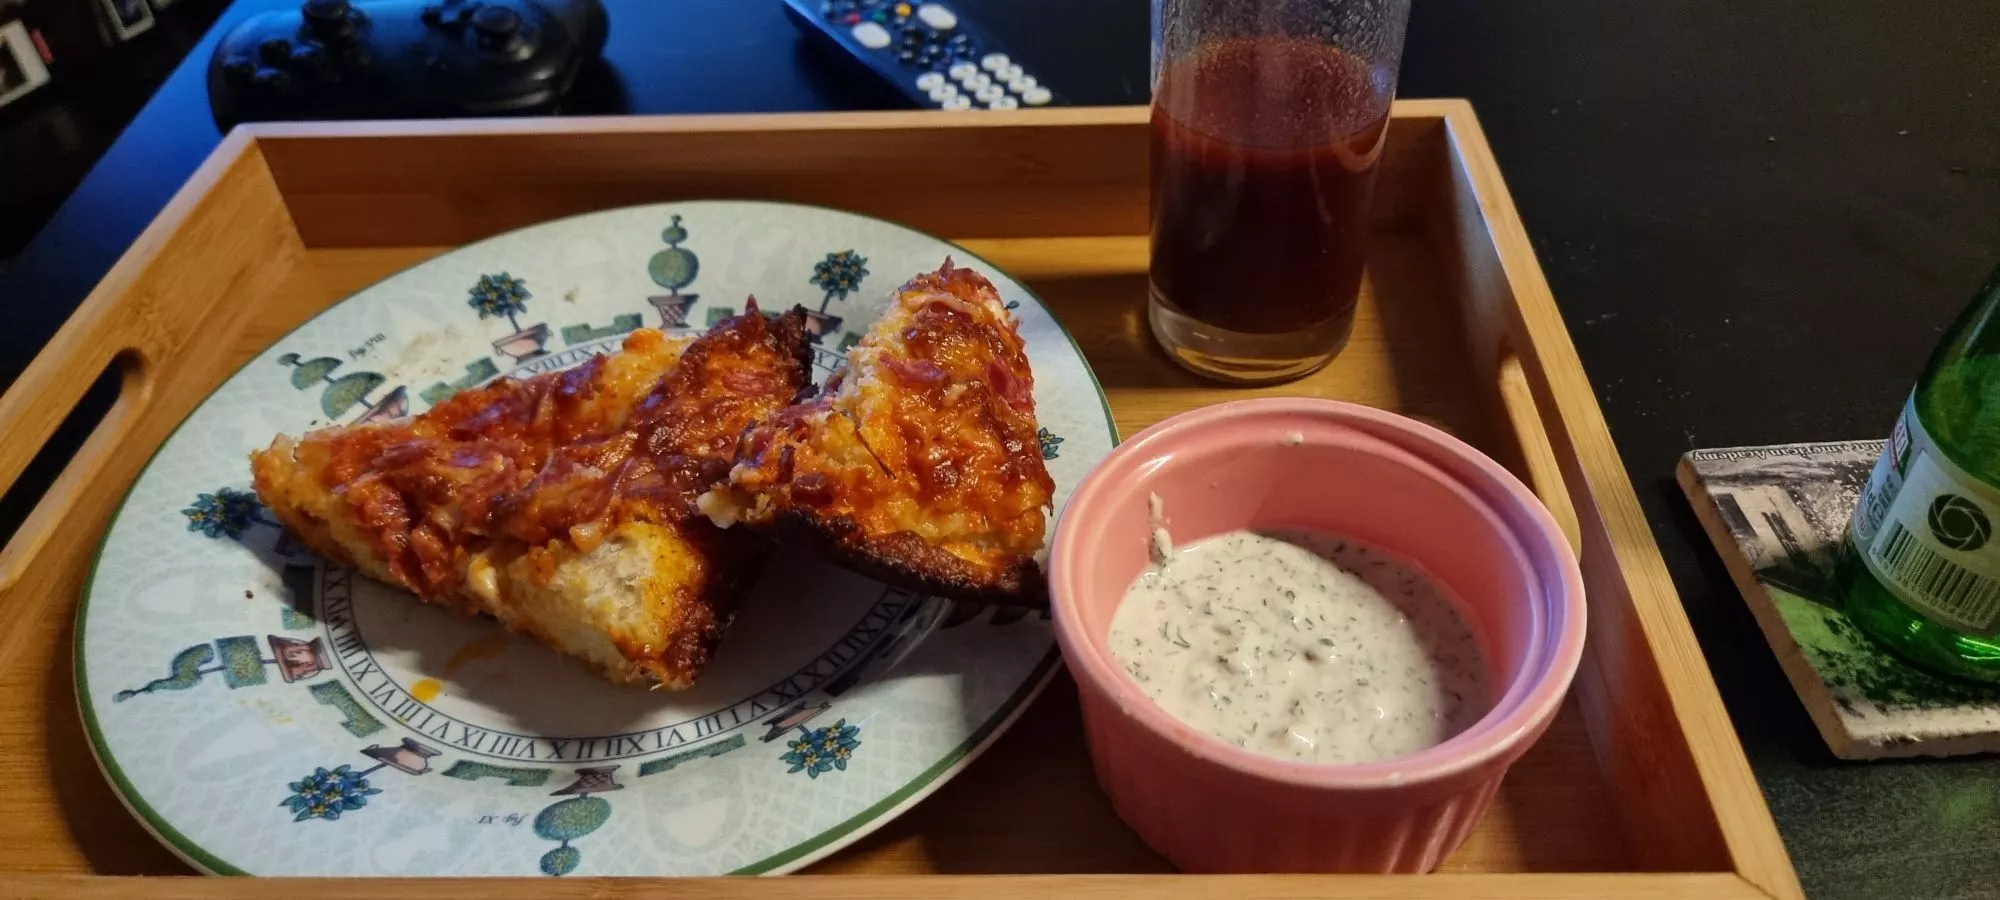
Note: The white sauce is some home made ranch dressing. As the crust is covered in caramelized cheese/frico, I enjoy dipping it into a special sauce.
Edit: Used the leftover tomato juice for a bloody mary, which is in the glass next to the pizza.
Here are some more photos:
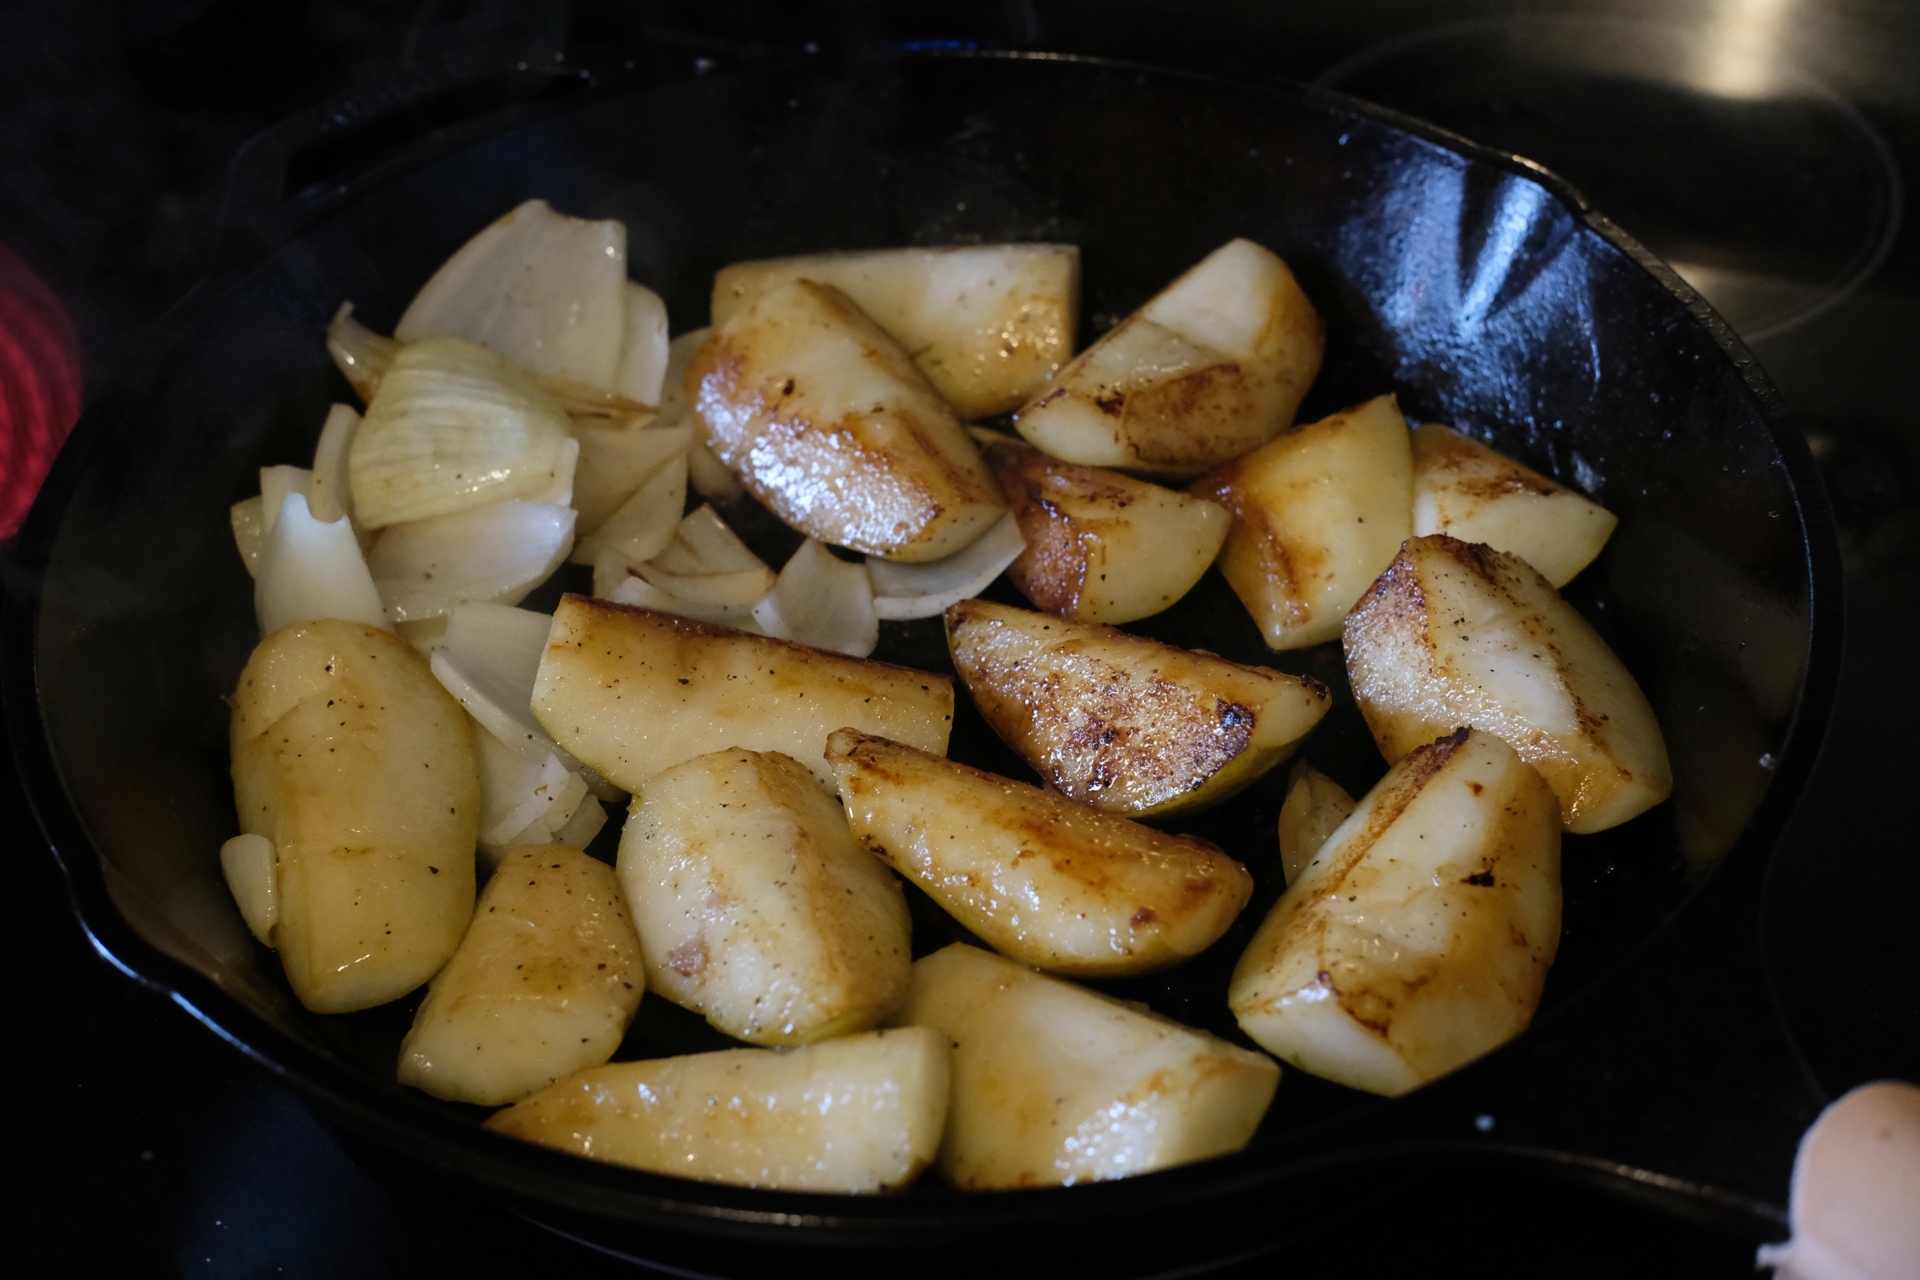
- Homemade Apple Pie
I made an apple pie in a cast iron pan. It's actually easier to make than it seems. Everything is from scratch.
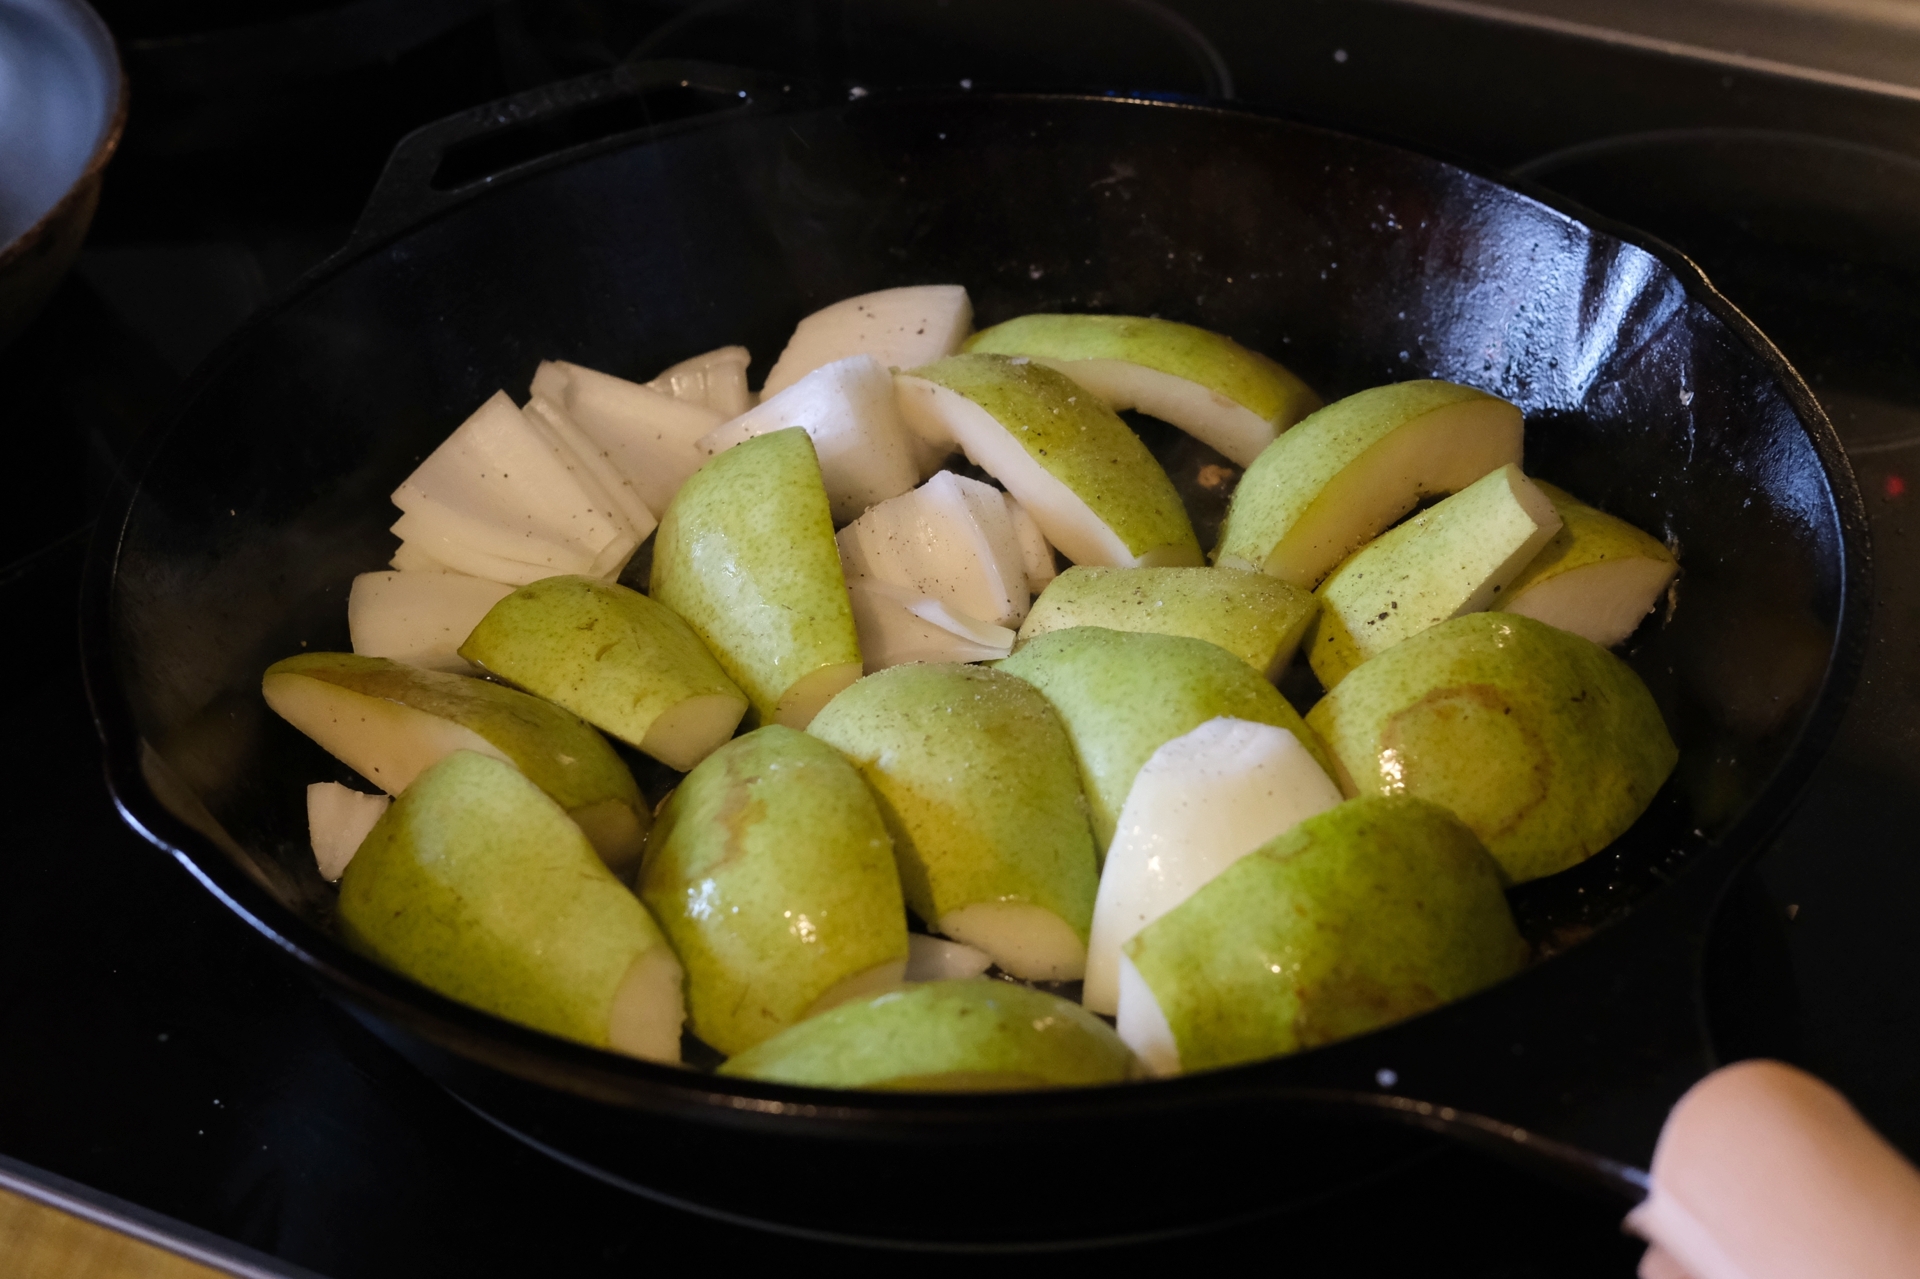
- Charring Poblano Peppers
I was originally going to make Chile Rellenos but I ran out of time. I made Rajas and added them to the Picadillo that was going to be the pepper stuffing. I didn't take a photo of that because I was too hungry. It came out great.
Edit: You char all sides of the pepper. Then you let it steam in a bag for 10-15 minutes. This allows you to remove the char and you are left with a pleasantly smokey and flavorful pepper.
- Cast Iron Chicken Thighs
Lately I've been cooking everything in my cast iron pans. Once you get the hang of them they're fantastic.
For this pan I sanded the original sandpaper like texture with an orbital sander then applied many coats of seasoning. Sadly, I may have made it too smooth. The seasoning doesn't stay on as well as another smaller pan that I own. Which means I'll sand it again with 40 grit in order to help the seasoning stick. Fingers crossed.
- How do you store your crisco for seasoning
I don't use crisco regularly for cooking, so I have the box of it in my fridge. It's messy to be opening the cardboard box and paper wrapping each time I add seasoning. Does anybody have a clever way to store it?
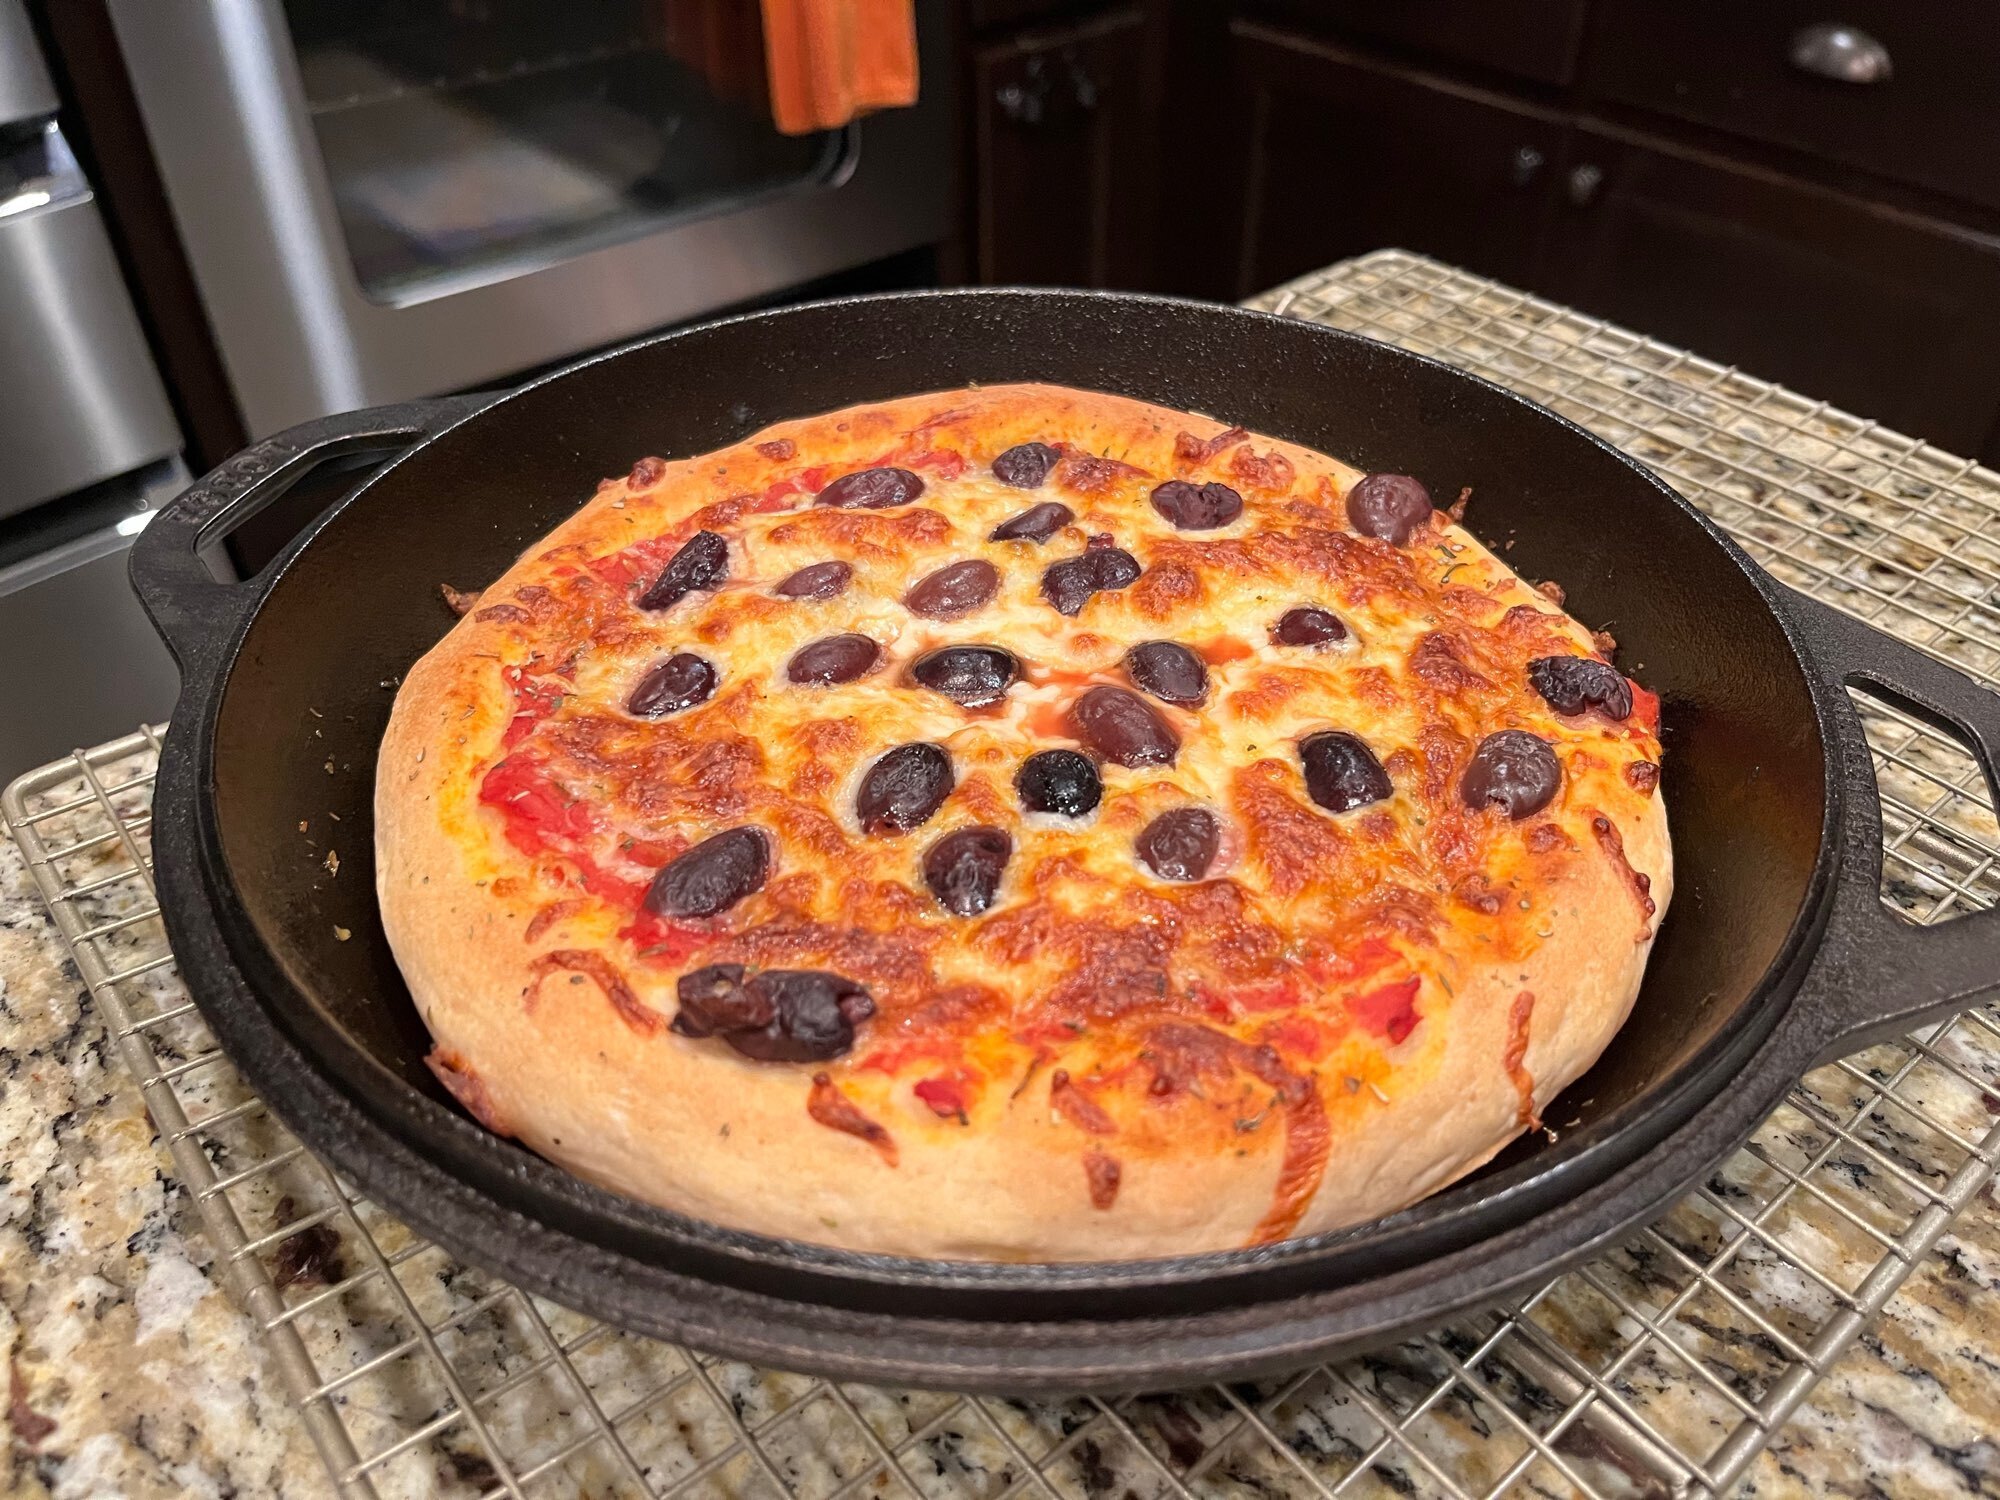
- focaccia in the 12" lodge
Just for your entertainment. This was a partial whole wheat/ white with herbs. Cold fermented inside the pan with lid on (brush lid with some oil so it doesn't stick). I made half pesto, half spicy and it's very far from traditional focaccia, except the dough, really.
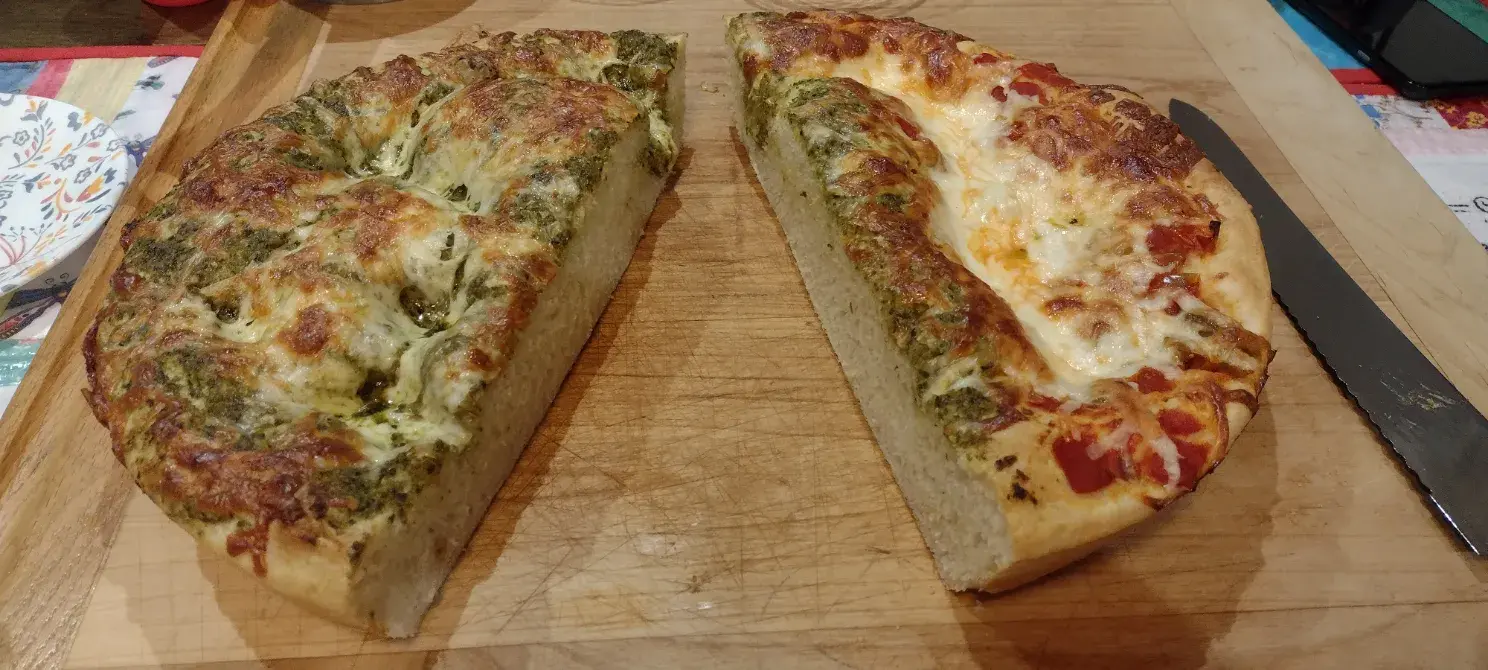
- Focasia Fantasia
Focasia dough with part pesto/mozzarella and part tomato/mad hatter/mozzarella. I decided against the traditional dimples. Did the secondary rise inside a 12" cast iron pan with lid.
Served with a choice of olive oil in combination with salt & pepper as well as extra tomato topping. Best cut with a very sharp bread knife.
- Cast Iron Carrot Cake
I used my 13.25" cast iron skillet to bake a large carrot cake. I found the recipe online and adjusted the cooking length to accommodate the larger pan.
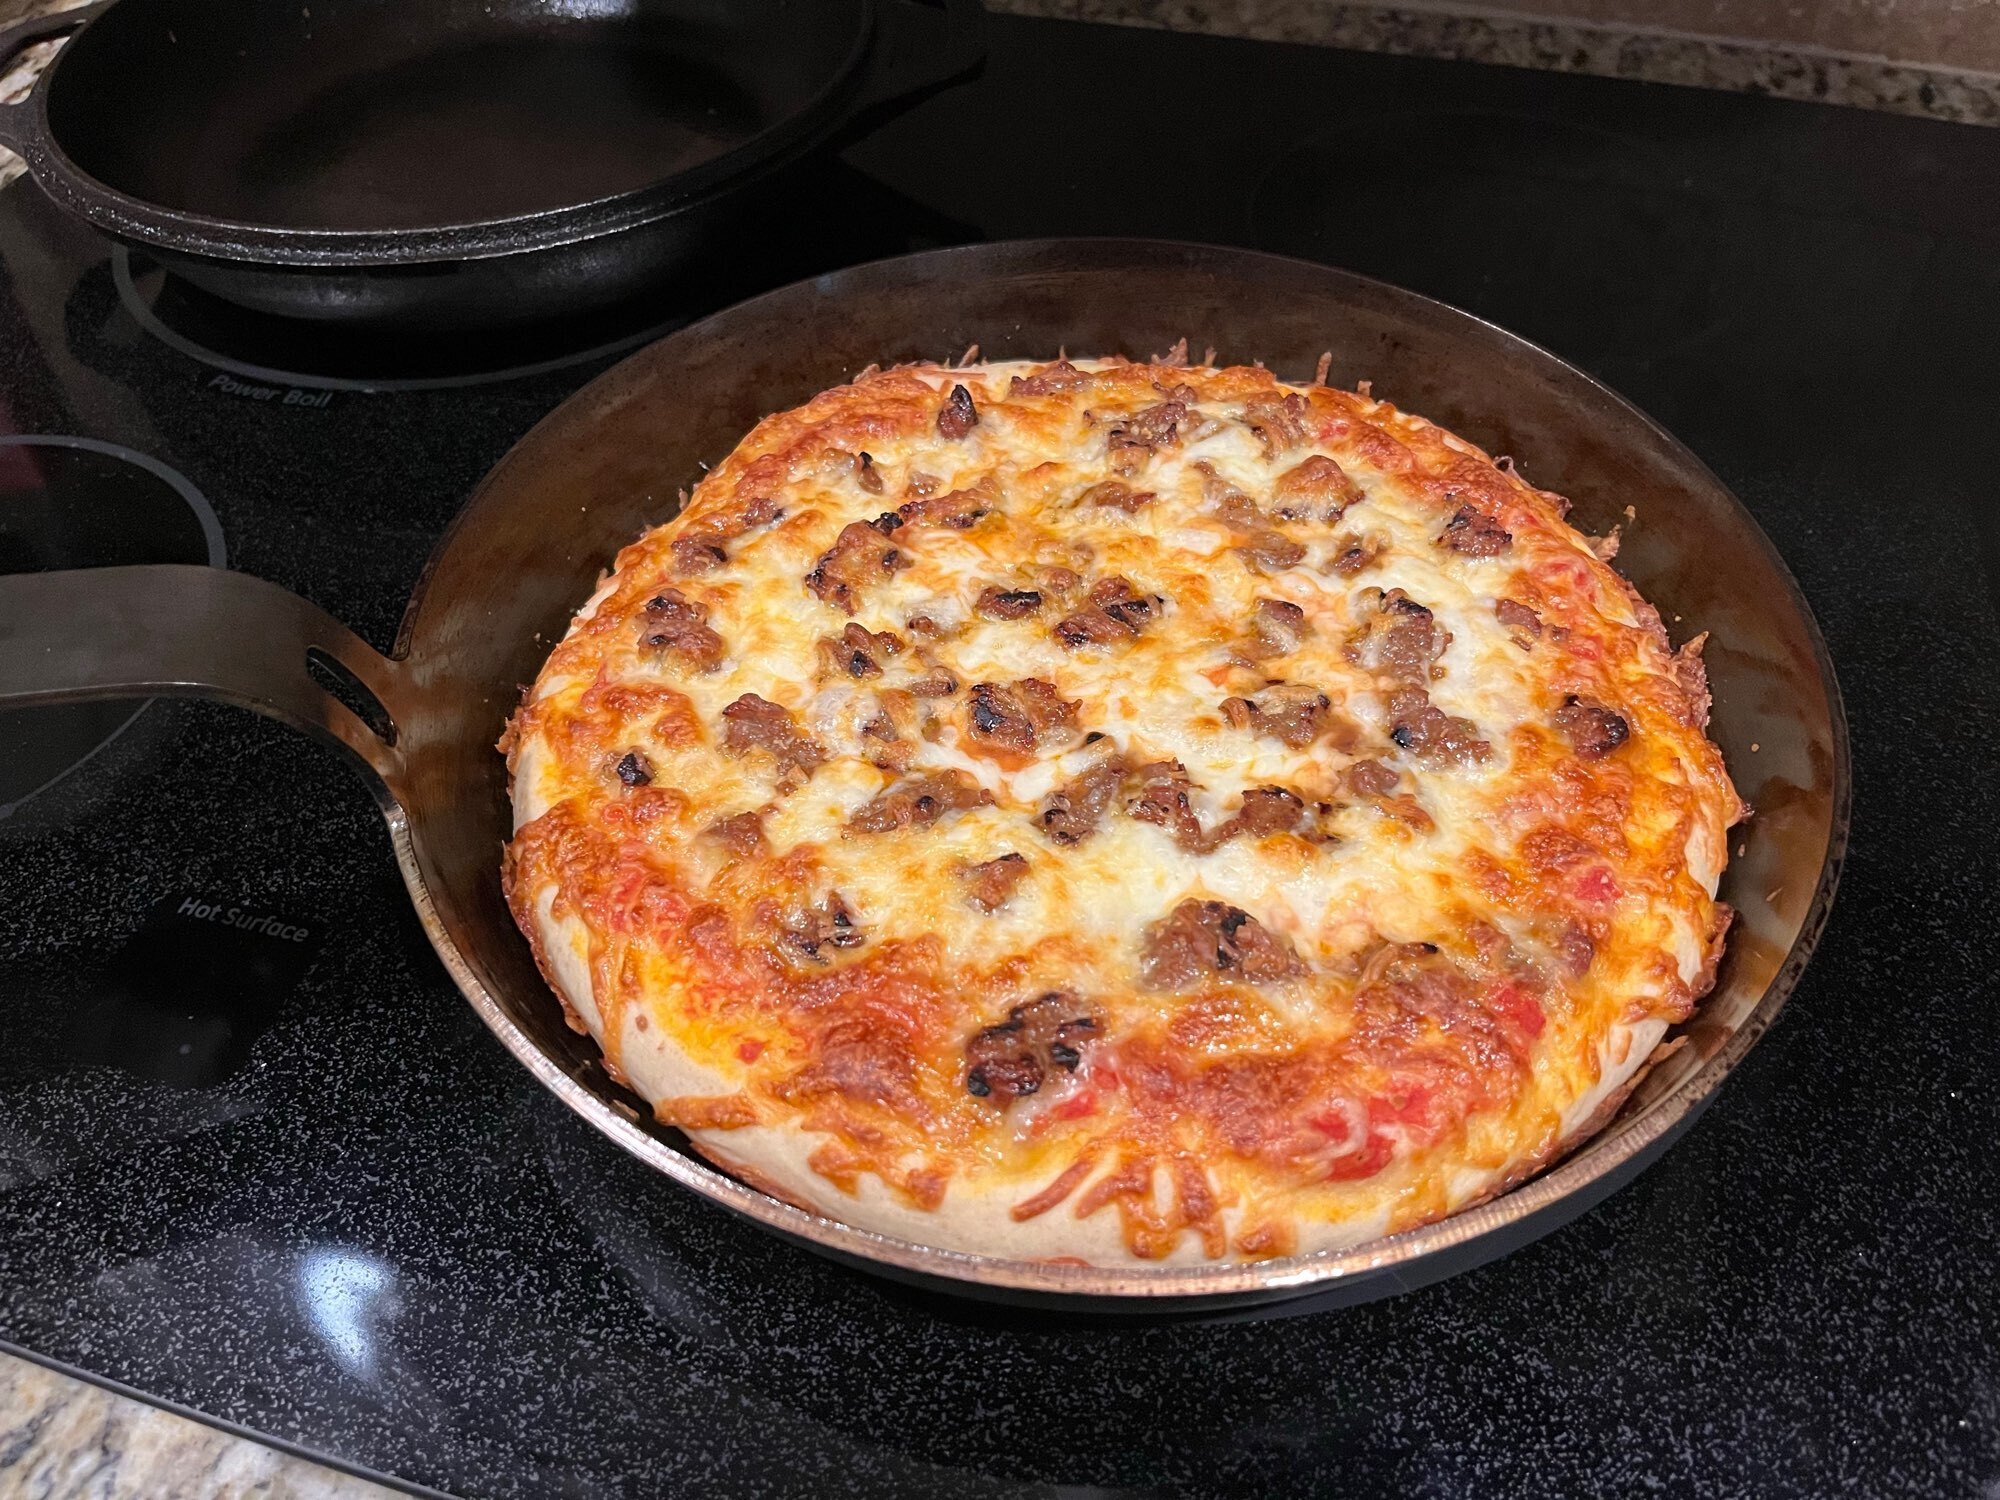
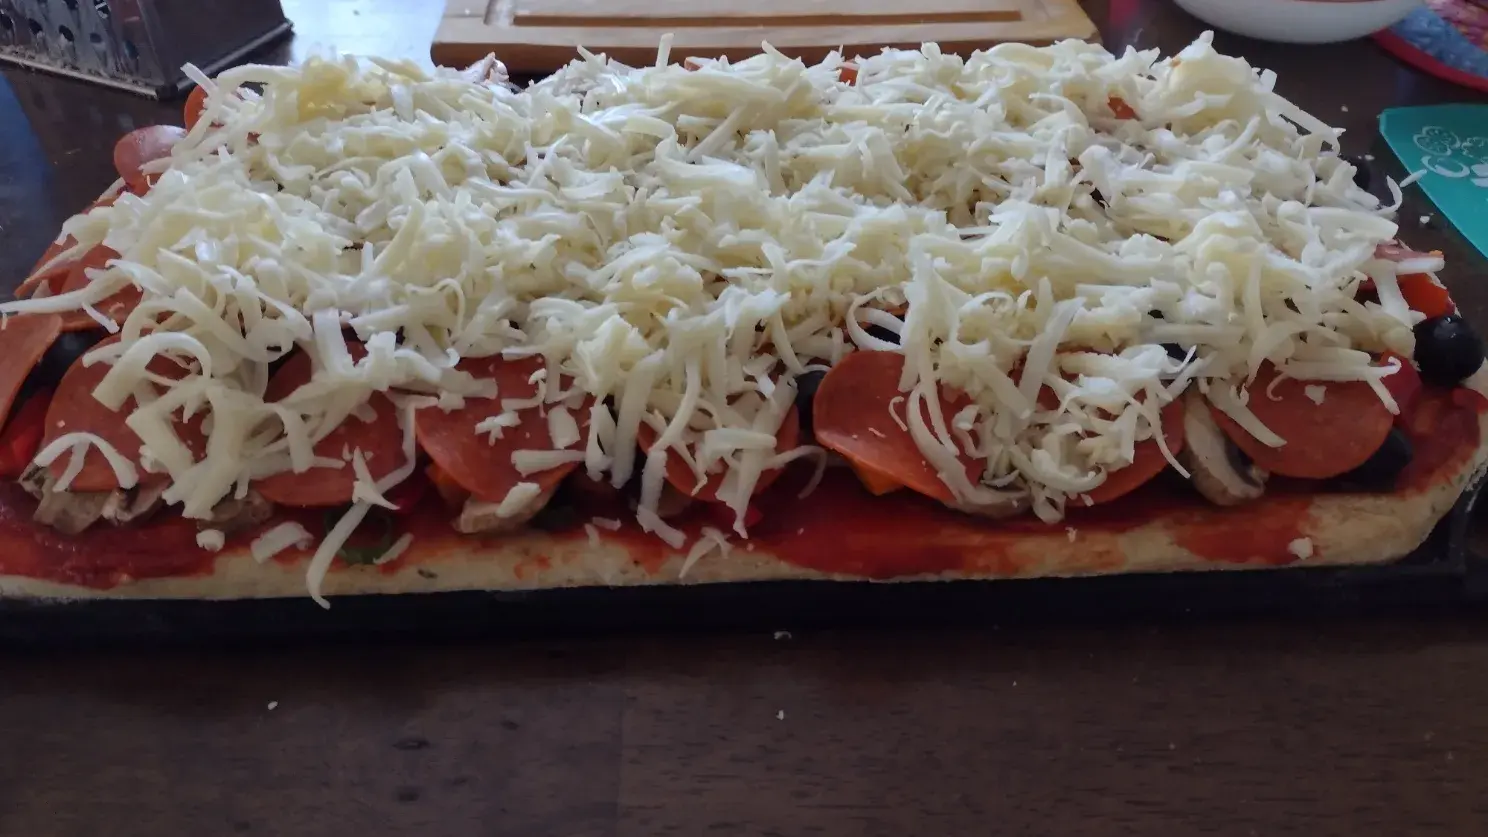
- Pan pizza night
Homemade pizza dough and sauce in my Lodge double Dutch oven lid and Darto carbon steel pan. The dough was cold fermented in the fridge then proofed in buttered pans. I cooked the dough on the stove top briefly to help it firm up before adding sauce and toppings.
For a crispier bottom, an alternative is to preheat the pans then add oil and (carefully) spread the proofed dough into the pan before adding toppings and cooking.
- No knead loaf, homemade starter, baked in the dutch oven
It actually did end up with a breath of sourdough to it and a nice chewiness. This was some starter that I had built up and maintained, dried and stored over a year ago, then rehydrated a week ago.
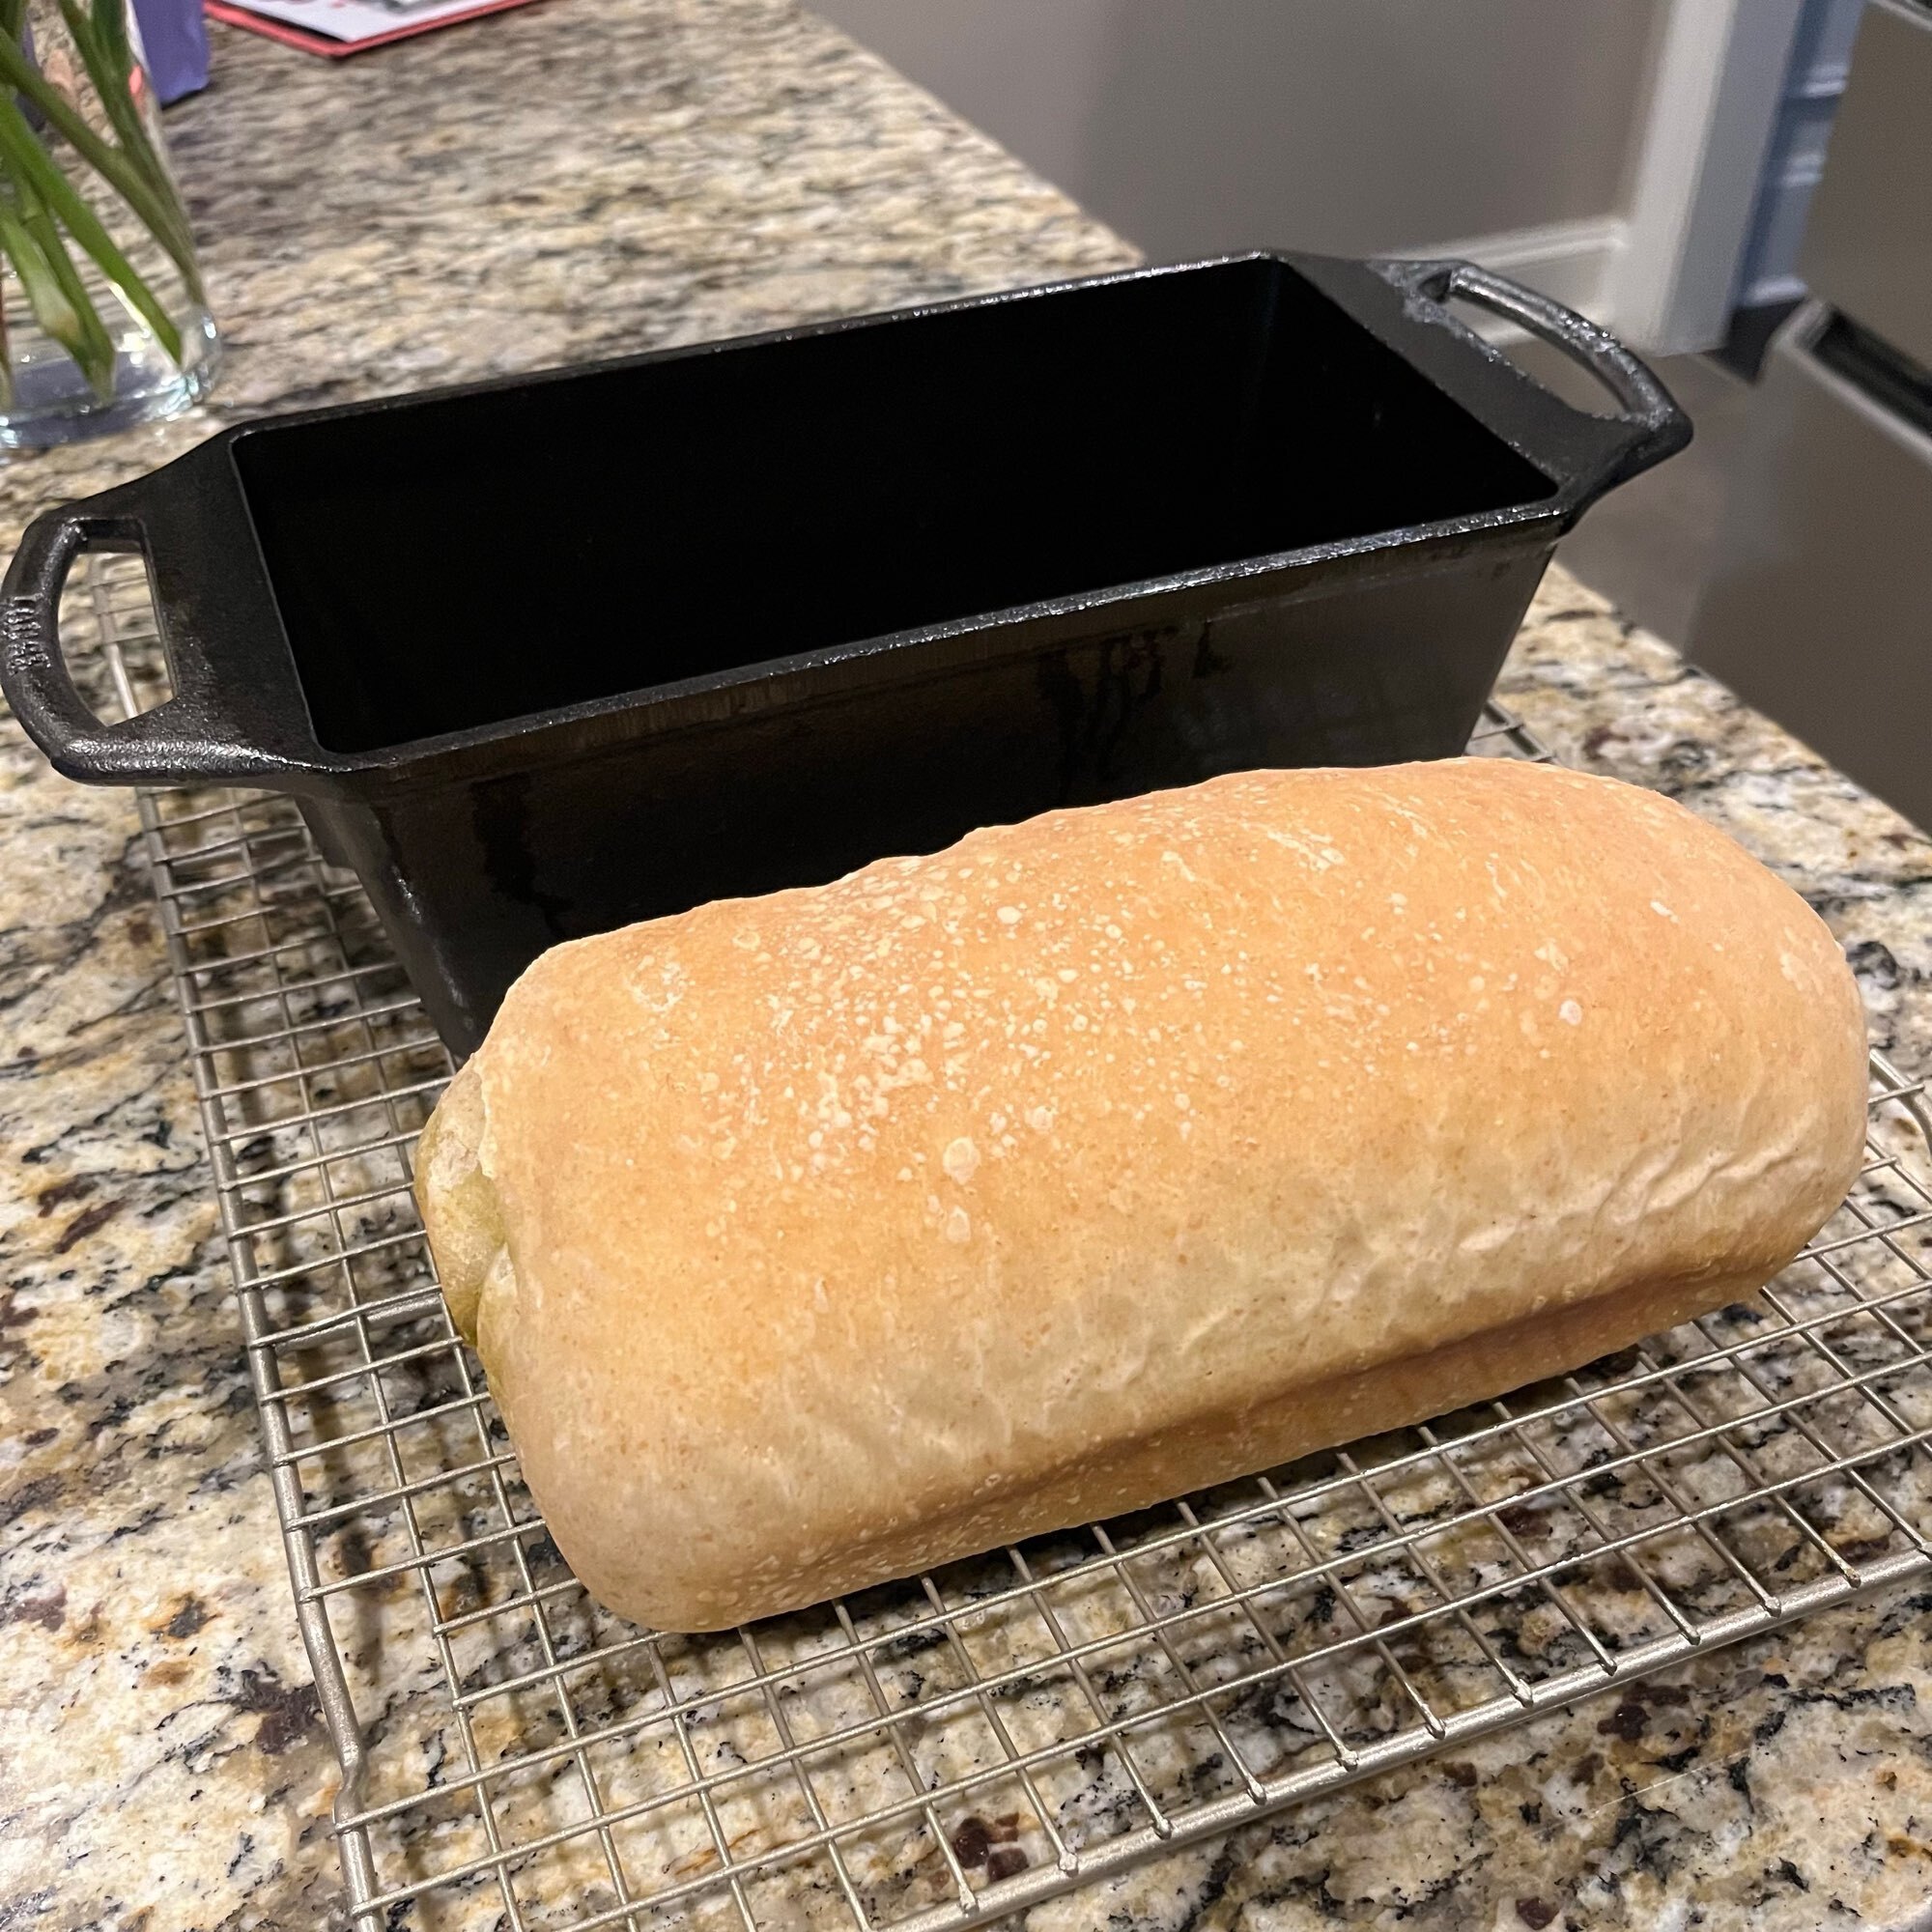
- Pesto loaf
Experimenting with making a pesto loaf, and it came out pretty good using the Lodge loaf pan. The dough is actually made from a pizza dough recipe that I like to make pan pizza with and had extra of. For one loaf (or pizza):
- 200g bread flour
- 25g whole wheat flour
- 158g warm water
- 4g salt
- 2g instant yeast
- 9g olive oil
Mix until all the dry bits are absorbed into a sticky dough ball, and let rest for a few minutes. Then stretch it out and fold it in half once from each side (top to bottom, right to left, bottom to top, left to right) and tuck it into a ball. It should be stronger, smoother, and feel less sticky afterwards. If it still feels like a weak shaggy mess, let it rest for another 10-20 minutes then repeat the folds. Then put the dough ball in a covered container that’s twice as big as the ball and put it in the fridge overnight (it’s good for probably up to 5 days to a week, and it will actually develop more flavor that way).
Pull the dough out about 1.5 hours before you want to bake. Roll the dough out with a rolling pin to a rectangle that’s as wide as the loaf pan is long, and make the dough as long as you can roll it out without too much trouble. Spread the pesto over the flattened dough, leaving a bit of a margin along the edges, with a bigger margin at the bottom. Roll the dough from the top down into a cylinder that will fit nicely in the pan and pinch all the seams along the loaf and at the ends to seal it up.
Grease the pan with softened butter, place the loaf in the pan, and cover with plastic wrap (or whatever). Let it rise until it’s at least 1.5 times larger (probably 1-1.5 hours). When it’s close to the right size, preheat the oven to 350°F. When the loaf is risen, uncover and brush the top with melted butter. Bake for 40-45 minutes until the inside is 190-200°F. Take the loaf out of the pan and cool on a wire rack for at least 45 minutes, then slice and enjoy.